Expert Guide to Winterising your Campervan or Motorhome
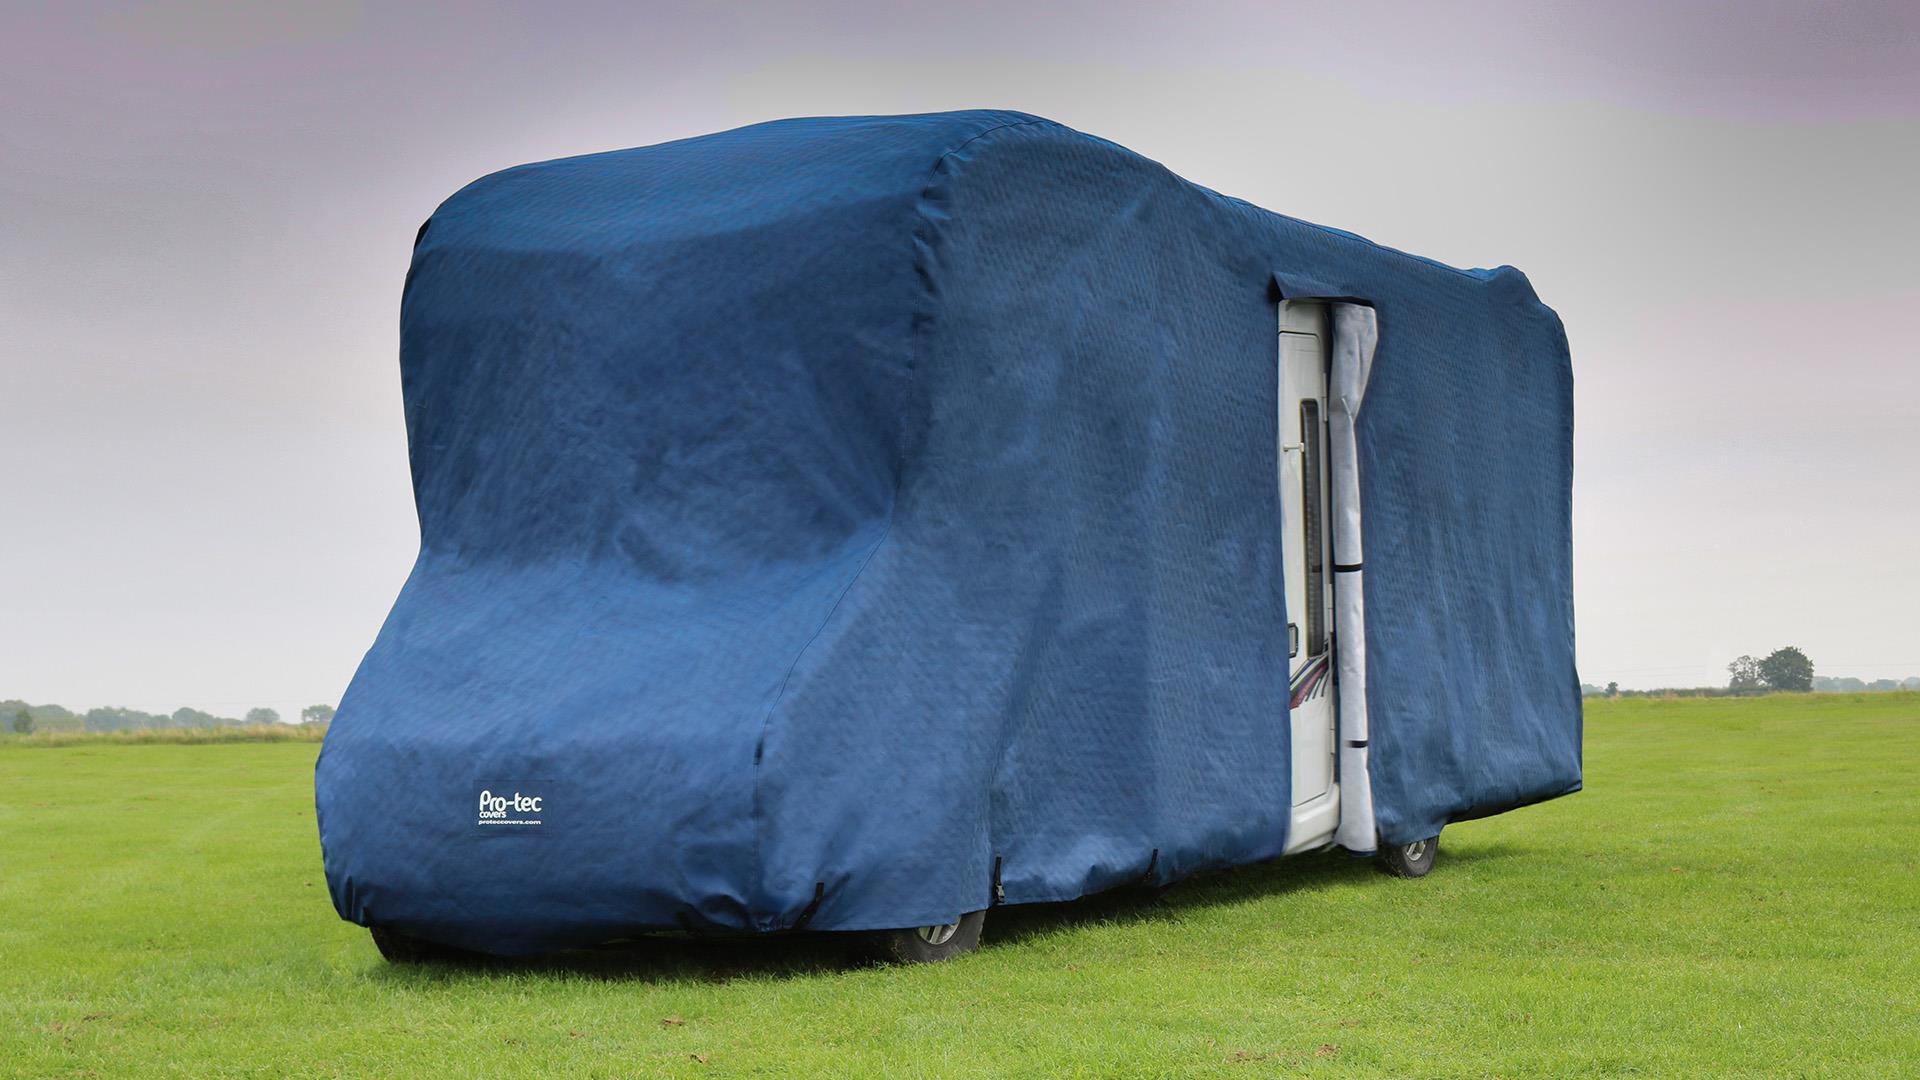
If you decide to put your motorhome or campervan into hibernation for the winter – or lay up as it’s commonly known – then you need to consider where to store it and put some measures in place to prevent it from deteriorating when it is stationary during the cold, damp months.
This guide provides information on dealing with potential problems with both the base vehicle and the habitation area, along with tips on security issues. The advice here is based on common sense and well-tried procedures, which if carried out should make sure your first outing in your motorhome after the lay up a simple one requiring minimum preparation. It is important, though, to check your motorhome handbook for any specific advice for over-wintering.
Where to store
For most people the choice on where to store a motorhome over winter is between home or a remote storage compound such as a campsite, specialist storage site, a farm or similar.
Wherever you choose to store it, you need to be satisfied there are sufficient security measures on the motorhome and protective measures around it to prevent theft of the unit or its contents.
To find a Club storage site near you, visit our storage page here. Alternatively, the Caravan Storage Site Owners Association (CaSSOA) offers a range of sites throughout the country graded according to their security provisions. Use of an unsecured location may prove to be a false economy.
Visit a storage site before booking your place to check how and where the motorhome will be stored. Look for a hard-standing, as motorhomes tend to struggle gaining traction on soft wet ground. Also look out for overhanging trees that can cause nuisance and damage from falling leaves, branches and bird droppings. 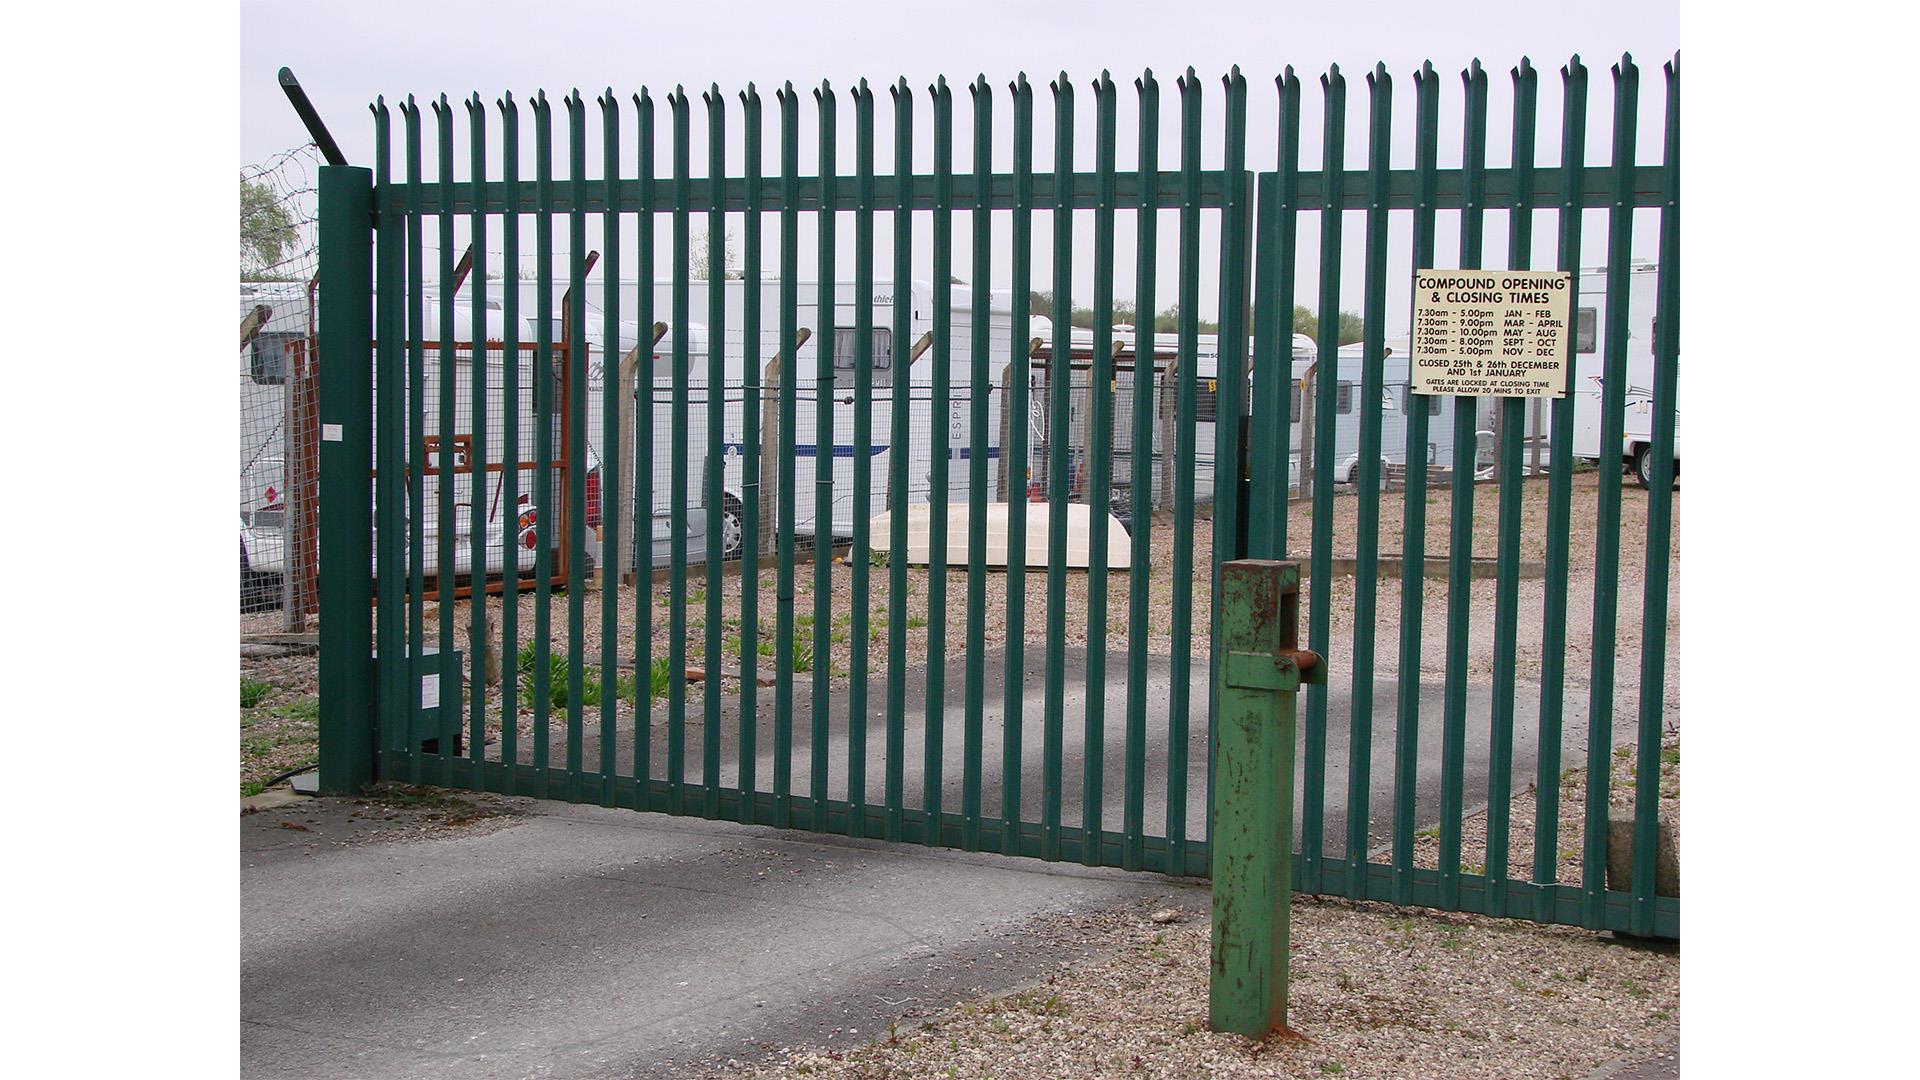
Check the terms and conditions of the site. Are there restricted access times or battery charging facilities? And, very important, do they have a vermin control programme? Infestations of mice and other vermin can wreck a motorhome and such damage is usually excluded from insurance policies. Finally, if you are able to access your motorhome without rigorous security checks it could be as easy for a thief.
Storing your motorhome at home can be a convenient and low cost option but you need to consider security requirements. Refer to the Club's
Expert Guide to Security for Caravans, Motorhomes and Trailer.. Sophisticated alarms and after-theft recovery systems can be effective and are often an insurance company requirement. However, you should also consider additional Sold Secure approved mechanical but effective measures such as a clutch or steering wheel lock, which are excellent visible deterrents to thieves. Your insurance company will need to know about your security measures.
 A wheel clamp and steering wheel lock approved by Sold Secure will give a high levels of anti-theft security
Preparing for storage and lay up
After security, enemy number one during winter storage is frost damage due to water left in the motorhome, closely followed by problems arising from damp and mould.
The water system
Any water left in the motorhome supply system is liable to freeze and cause damage during freezing weather. Ensure you drain down the whole system, including the water heater and taps.
Use of a proprietary drain down system, such as the one produced by Floe, is an effective way of achieving full drain down.
If you have an Alde or similar wet heating system, the heat transfer fluid is designed to remain in the system all year round, as long as the anti-freeze solution is maintained in accordance with the manufacturer’s requirements.
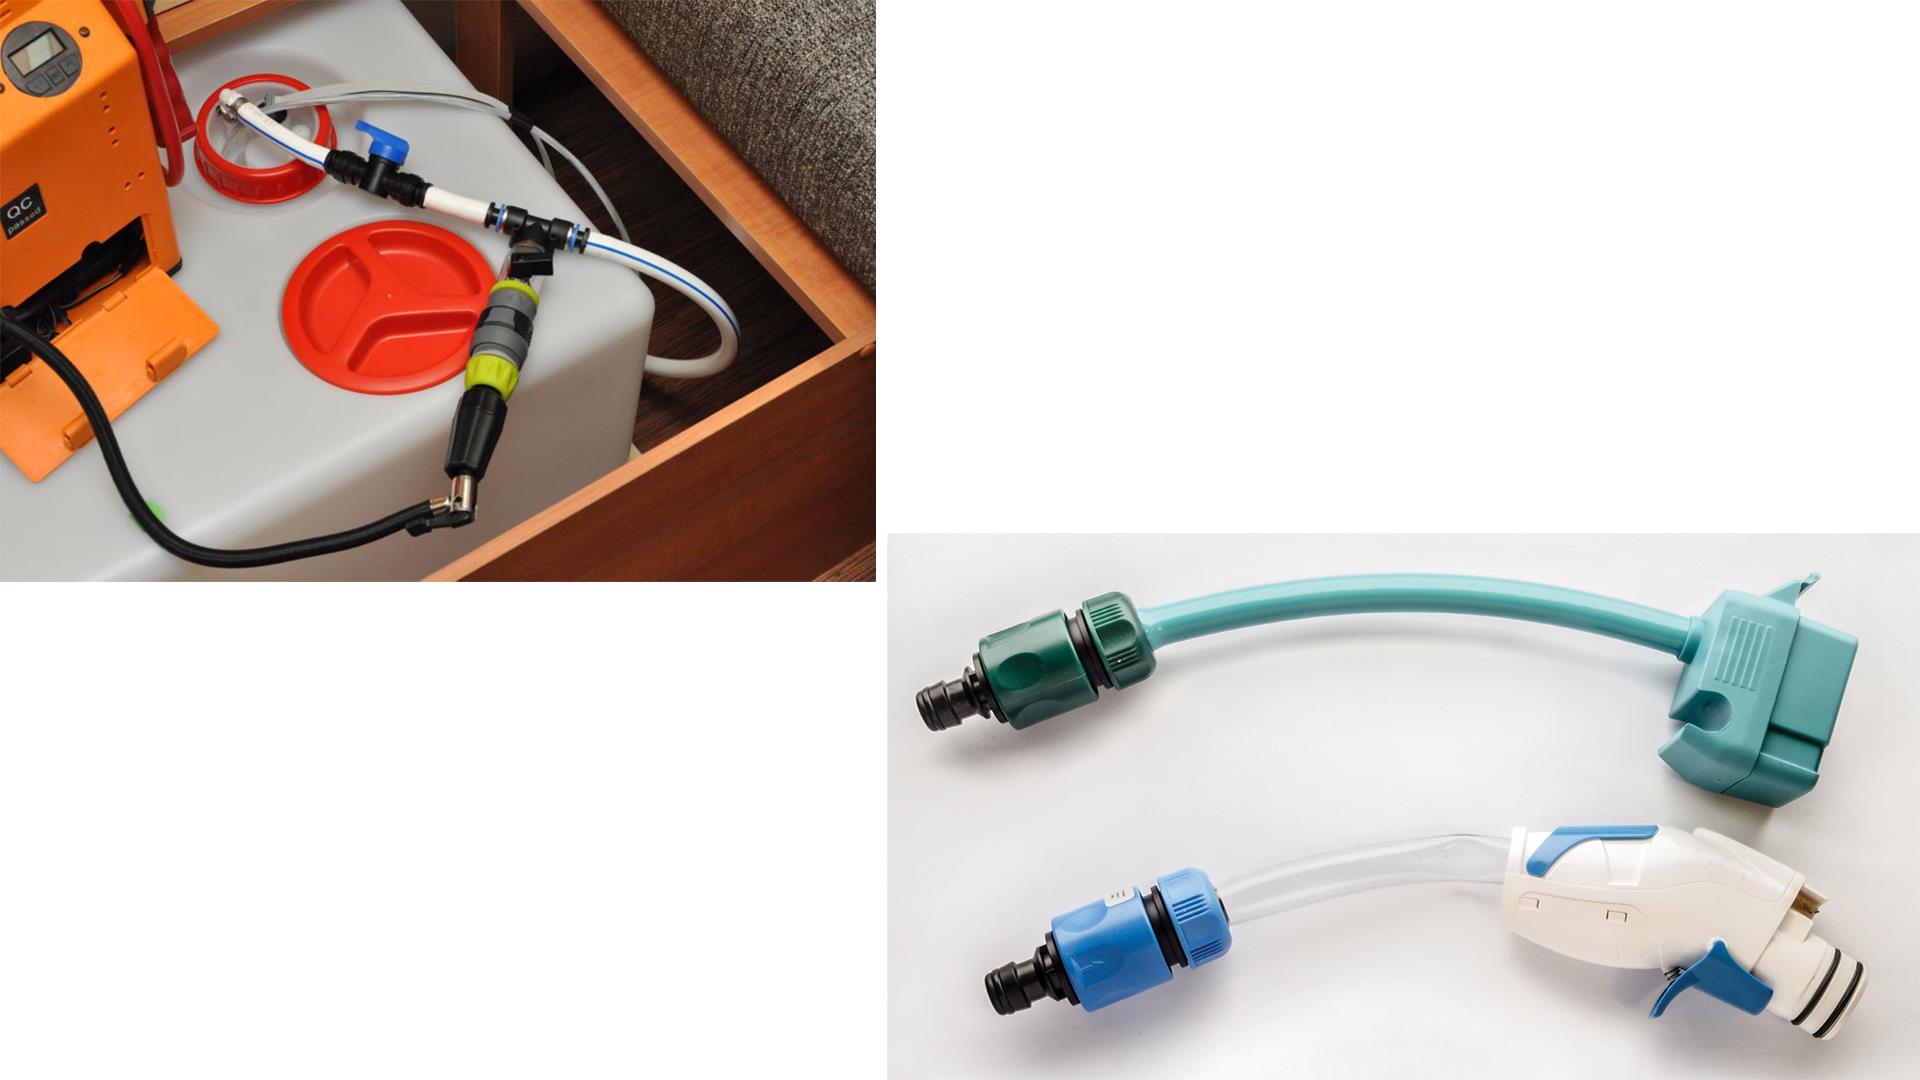
The Keep Floeing product can help shift any remaining fresh water in your system
Water drain down procedure
1. Start by opening all of the motorhome’s taps, not forgetting the shower.
For mixer taps ensure the lever is in the central position to allow for both hot and cold water to drain. It is usually best to remove the shower head to empty it of water
2. Drain the fresh water tank and open the water system drain valve in the van, which is usually situated close to the water heater

Opening drain valve will empty most of the fresh water
3. Run your pump for a few moments to clear it of water. Most good pumps can be run dry for short periods without causing any harm
4. Remove any filters that may hold residual water. If it is a carbon filter designed to improve taste, leave it out until after you’ve brought the motorhome out of its winter lay up and sterilised the water system at the start of the new season, as sterilising solutions usually damage such filters. Only fit a new filter after sterilisation is completed
5. Many motorhomes use a metal-screen grit filter located next to the on-board pump. This will not hold water like a carbon filter but it is worth cleaning the screen while the system is drained down
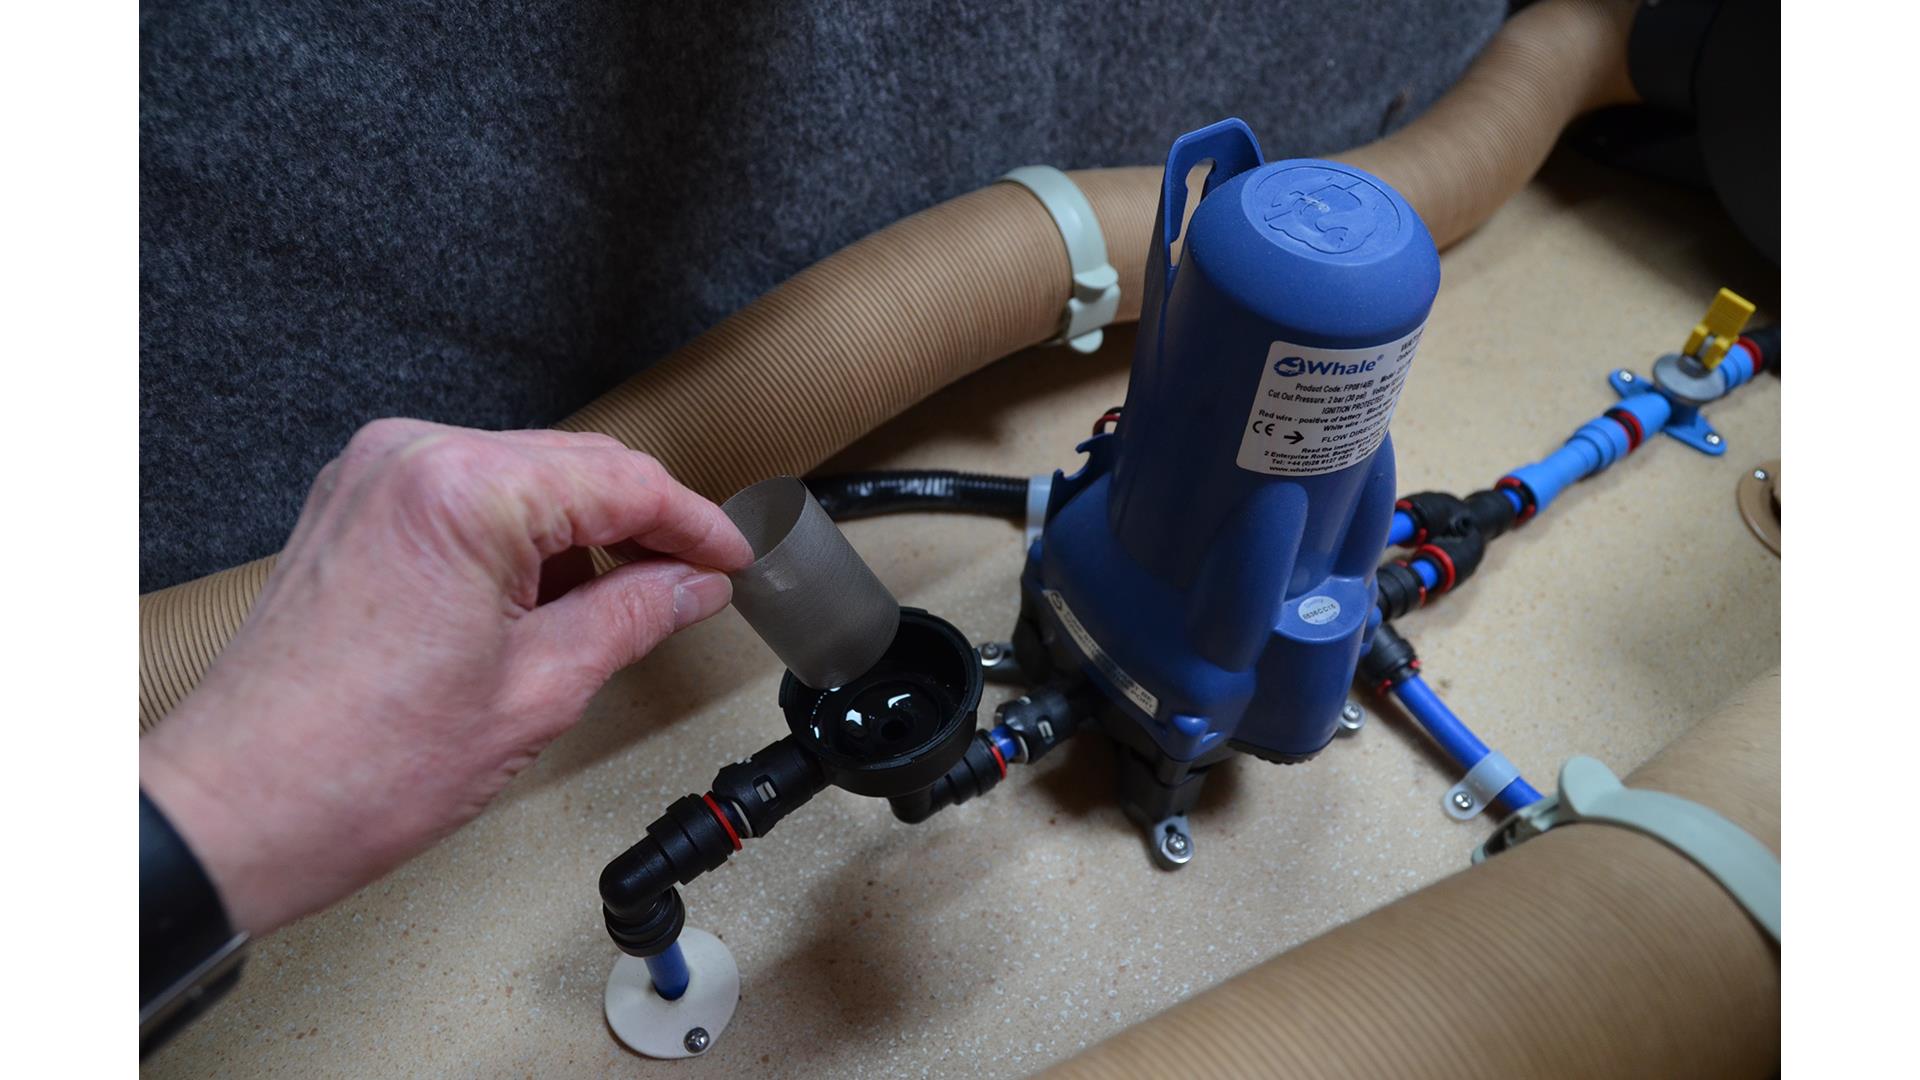
Clean the water pump grit filter if fitted
6. Do not forget your ancillary water equipment such as external pumps for filling the tank and portable water containers. Ensure they are drained and allowed to dry out to prevent mould growth
7. If you do not have a Floe drainage or similar system fitted, the next best way to evacuate the last drops of water in your system is to shake it out. First, drain down the water tanks at the campsite’s motorhome service point or similar before you drive off site on your last motorhome outing of the season. When only a small amount of water is left onboard, open all the valves soon after you exit the campsite and drive back with all the drain valves and taps open. It is important to drain the tanks onsite first, to avoid creating a danger or nuisance to other road users
8. Leave the taps fully open over winter just in case any water is trapped in the tap body. This will provide room for expansion if residual water freezes. But ensure power to the pump is switched off
9. Even if small pockets of water remain in the system do not cause damage, this stagnant water does not bode well for the safety or taste of water next season
10. Remember, it’s not only the freshwater system that needs to be drained down. Ensure the waste tank is empty and if your motorhome has its own cassette toilet flush water supply tank this needs to be drained too (see the cassette toilet section)
11. It is good to vent your waste and freshwater tanks by leaving the drain valves open, but cover the outlets with mesh to stop insects and other creatures setting up home in your tanks.
 Leave drain valves open but cover with a mesh to avoid infestations
Keeping damp and mould at bay
Moisture is a real enemy during winter lay ups for both the base vehicle and habitation area.
A damp atmosphere can create the conditions for moulds and fungus to grow, which can be particularly damaging for soft furnishings. Moisture can also be harmful to electronics in the control systems for the habitation equipment and under the dashboard of the base vehicle.
Mould likes dark undisturbed areas, especially if they are damp. If you have mould you need to kill the spores to prevent it spreading. White vinegar or a dilute bleach solution will do the job however these may damage surfaces so check they don't beforehand. Caravan accessory retailers may have products more suited to the vehicle materials. There is no guarantee that cleaning will remove stains caused by the mould so the best advice is to try to avoid the mould in the first place.
Regular inspection for damp is also sound advice to nip any water ingress as early as possible, this will reduce the severity and cost of any repair.
Ideally the best way to limit damp conditions is to provide warmth and a flow of air through the van. It is expensive to provide heating and in many storage locations it is impractical, but ventilation is possible. Motorhomes have a certain amount of permanent ventilation built into the roof openings even when closed. More ventilation is preferable but weighted against this is the problem of security from windows left in the ‘ajar’ setting and insurance company requirements. Roof lights left open can be an invitation to vermin and damage from winter storms, so again you are left with accepting the motorhome’s own built-in ventilation option.
Electric dehumidifiers are an option if the unit has just come back from a camping trip or the" furnishings are furnishings are particularly damp on lay-up, as is a box of drying salts, but in the long term the motorhome’s ventilation will mean you are simply trying to dehumidify the air surrounding the tourer.
Ensure you open up the interior lockers in the living quarters, particularly where the gas drop out vents are located, as this will encourage a flow of air throughout the van. Any doors or lockers left open should be secured in position if you have an alarm with internal security movement sensor as this will help prevent triggering false alarms.
 Gas drop vents can aid ventilation
On campervans there is less fixed ventilation so the dehumidification and use of a low power fan may be your only option if mains power is available.
While as much air flow as possible is to be encouraged through the van, if your vehicle does not have a cover fitted and it is stored in an exposed position, and the fridge is the absorption type you should fit fridge winter vent covers to prevent insects, rain and snow getting in.
Interior cleaning
Even with ventilation, given the likely winter atmosphere there is still a risk of mould and fungus growth within the living quarters so consider the following to minimise this risk:
- Remove all traces of food from the motorhome and thoroughly clean the kitchen and appliances with products suitable for the materials and surfaces within the motorhome. Traces of food can encourage mould growth and attract vermin
- Ensure the fridge door is kept ajar, either with the special catch supplied or wedge it open. Removing containers can help with air circulation.
- Vacuum the floor and upholstery and wipe down hard surfaces to remove any crumbs that could congeal into a crust with damp
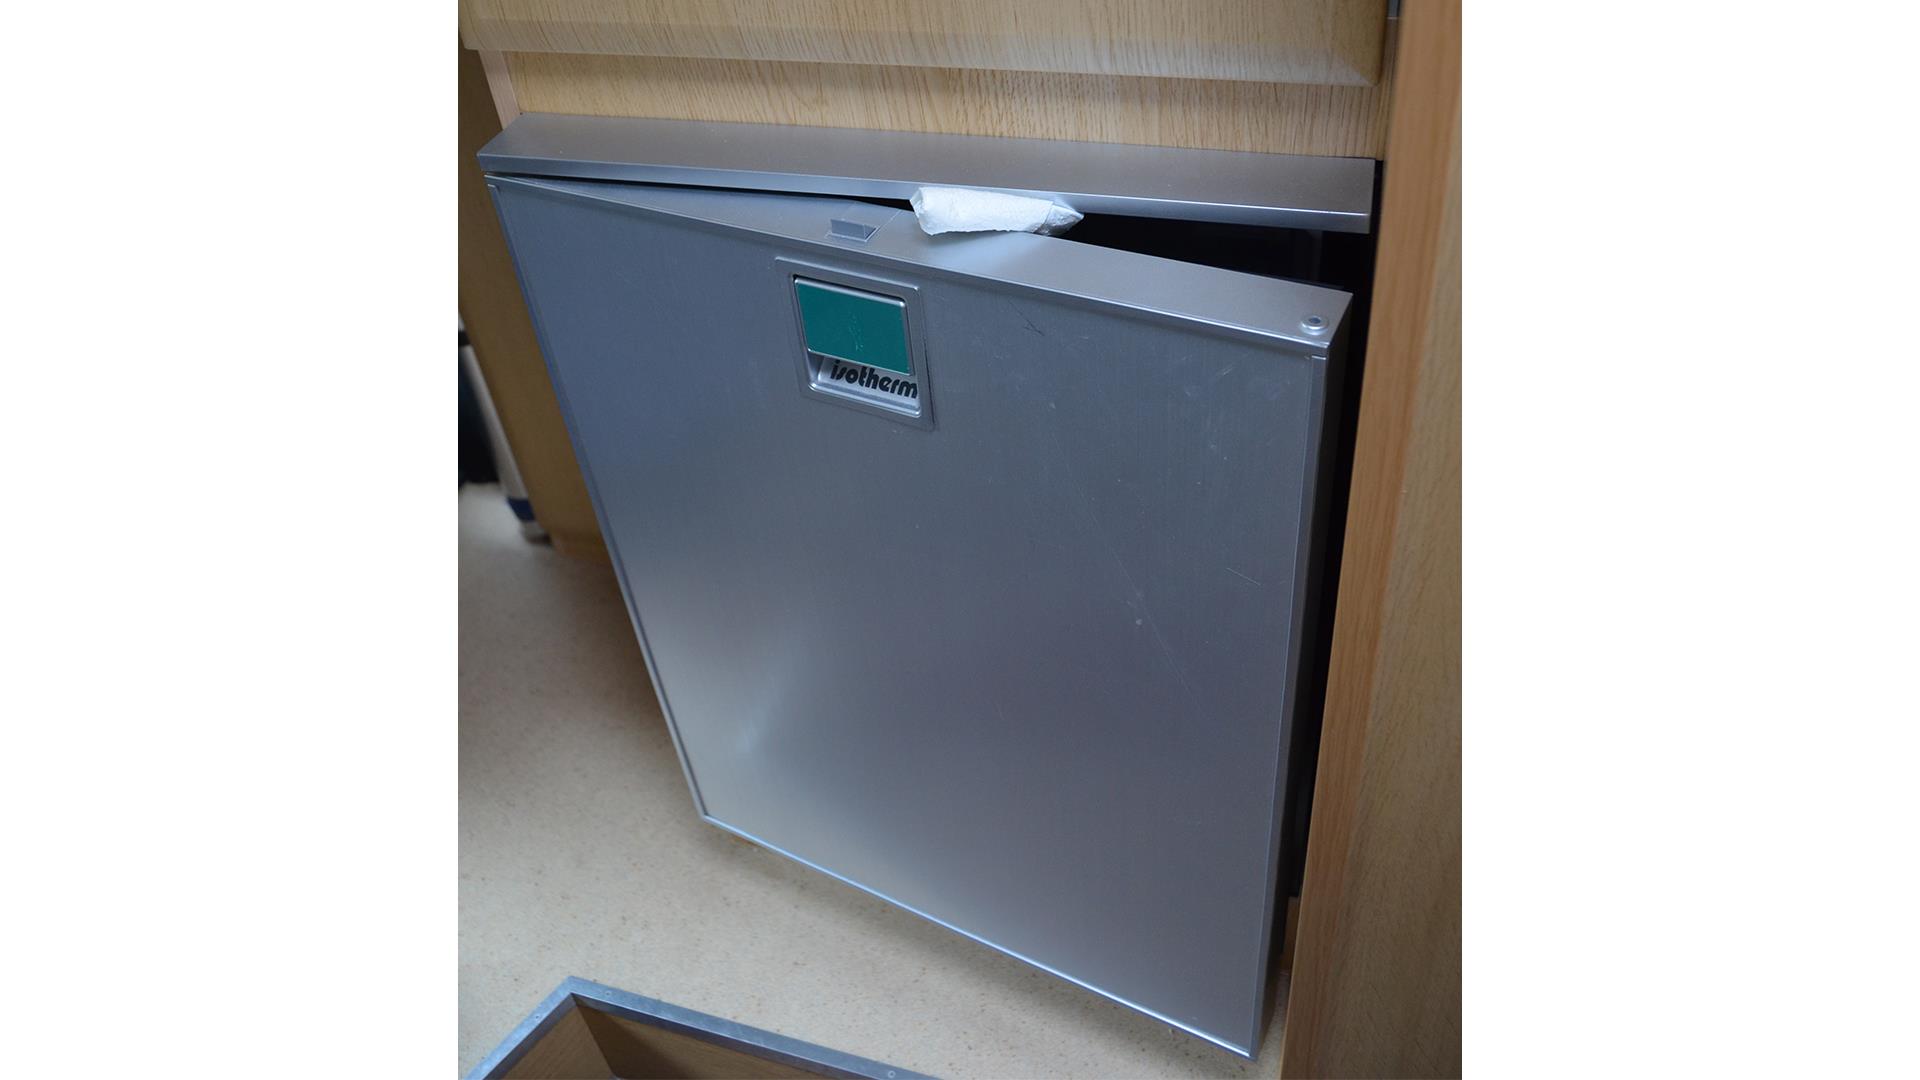
- Consider taking soft furnishings such as seat cushions, curtains and other fabrics into the house. This will also make the motorhome a less attractive proposition for a thief
- If you keep soft furnishings in place inside the motorhome, cover them with a breathable cover such as an old cotton sheet. Place seat cushions upright for improved ventilation
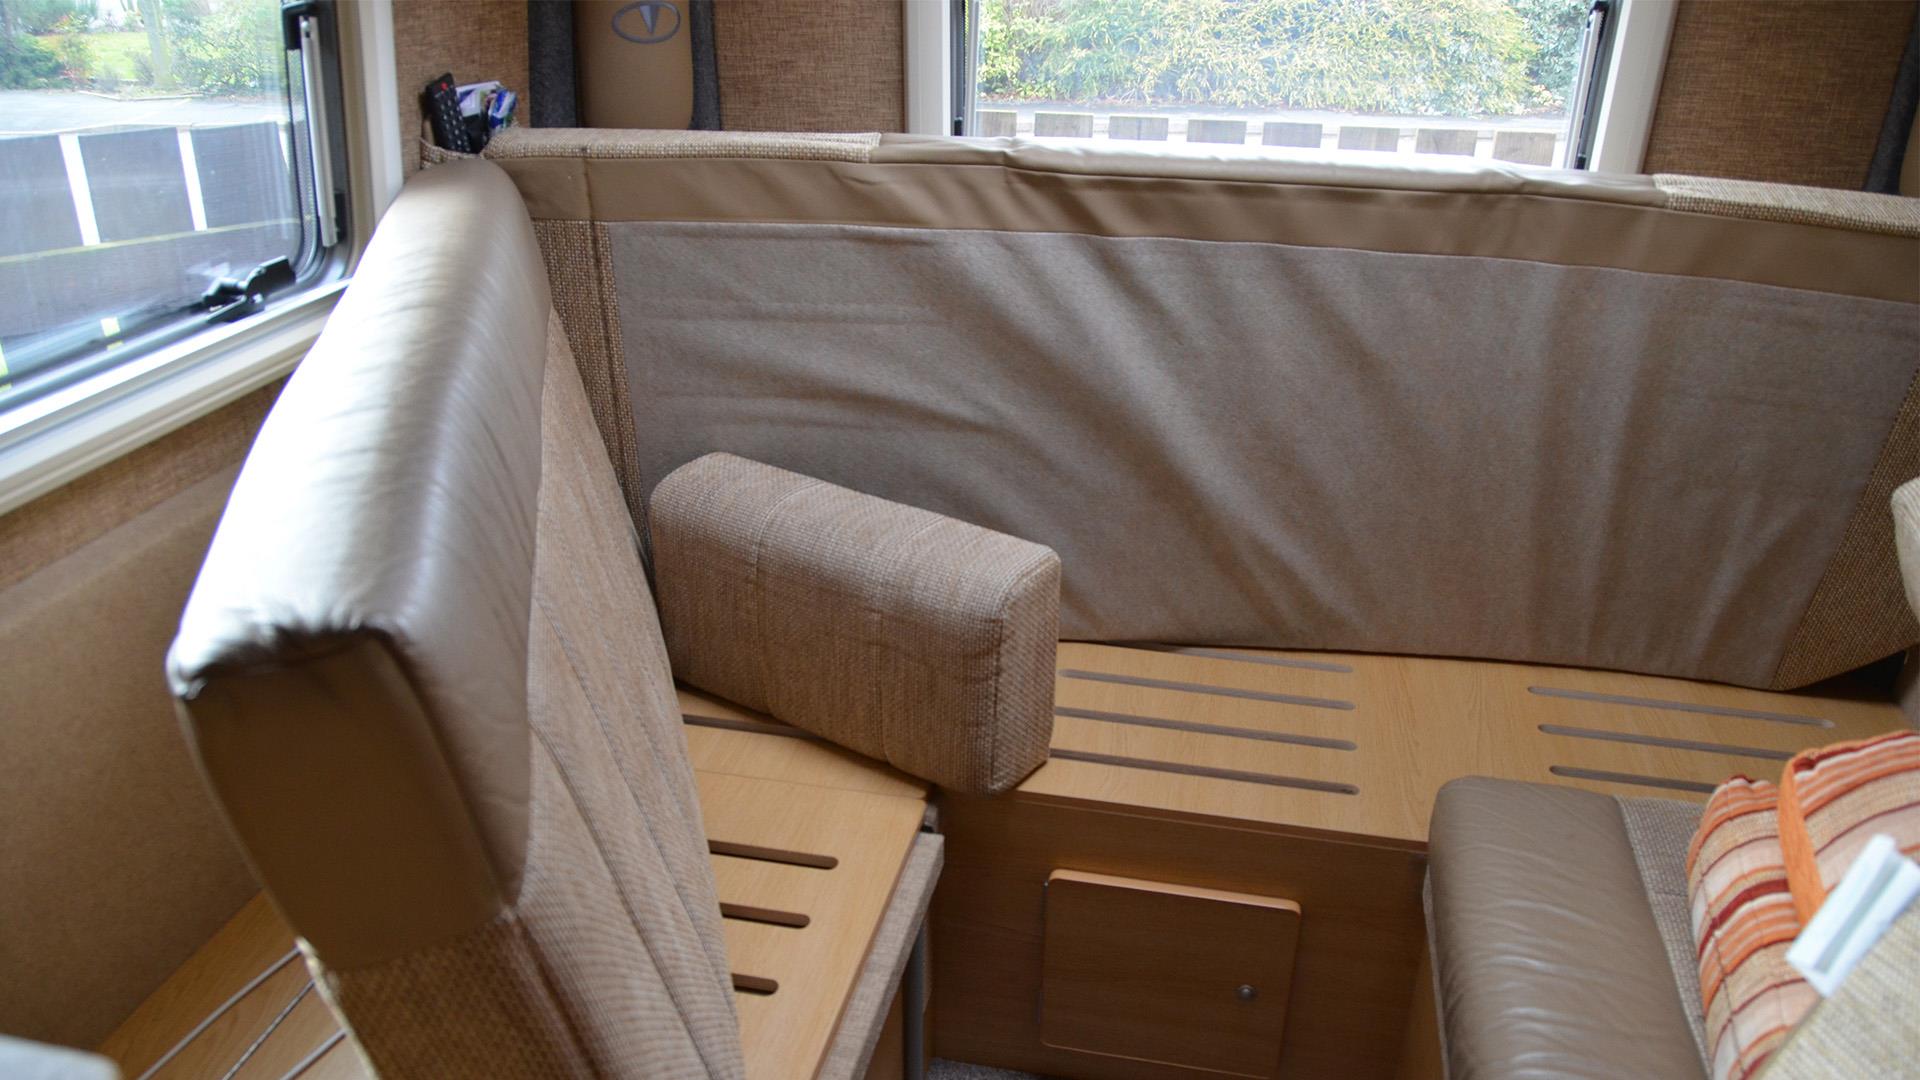
- Blinds can be closed to shield the inside fabrics from sunlight but only if they are not spring operated. When closed for an extended period the springs are stretched and weakened
- Metal parts such as hinges can be cleaned and lightly oiled to protect against rust, but keep oil clear of adjacent surfaces. Alternatively use Thetford’s silicon spray which is safe on most motorhome plastics except acrylic windows.
Top Tips
- Make cardboard inserts to fit on the inside of windows to save your blind springs and fading of curtains while in storage
- A light dusting on rubber window and door seals with talcum powder can prevent them sticking.
The base vehicle
It is important to remember prolonged inactivity is not recommended for base vehicle engines, electrical systems or running gear. Most motorhomes are based on a commercial vehicle designed to work every day, so ideally take it out for a drive regularly during its winter lay up. This drive should last long enough to ensure a period of driving at normal operating temperature to keep all the working parts at their best, typically at least an hour.
Assuming your base vehicle is serviced according to the manufacturer’s recommendations, the engine coolant should contain sufficient anti-freeze to ensure the safety of the engine. But consider the following actions:
- Check the handbook for advice about prolonged inactivity of the vehicle
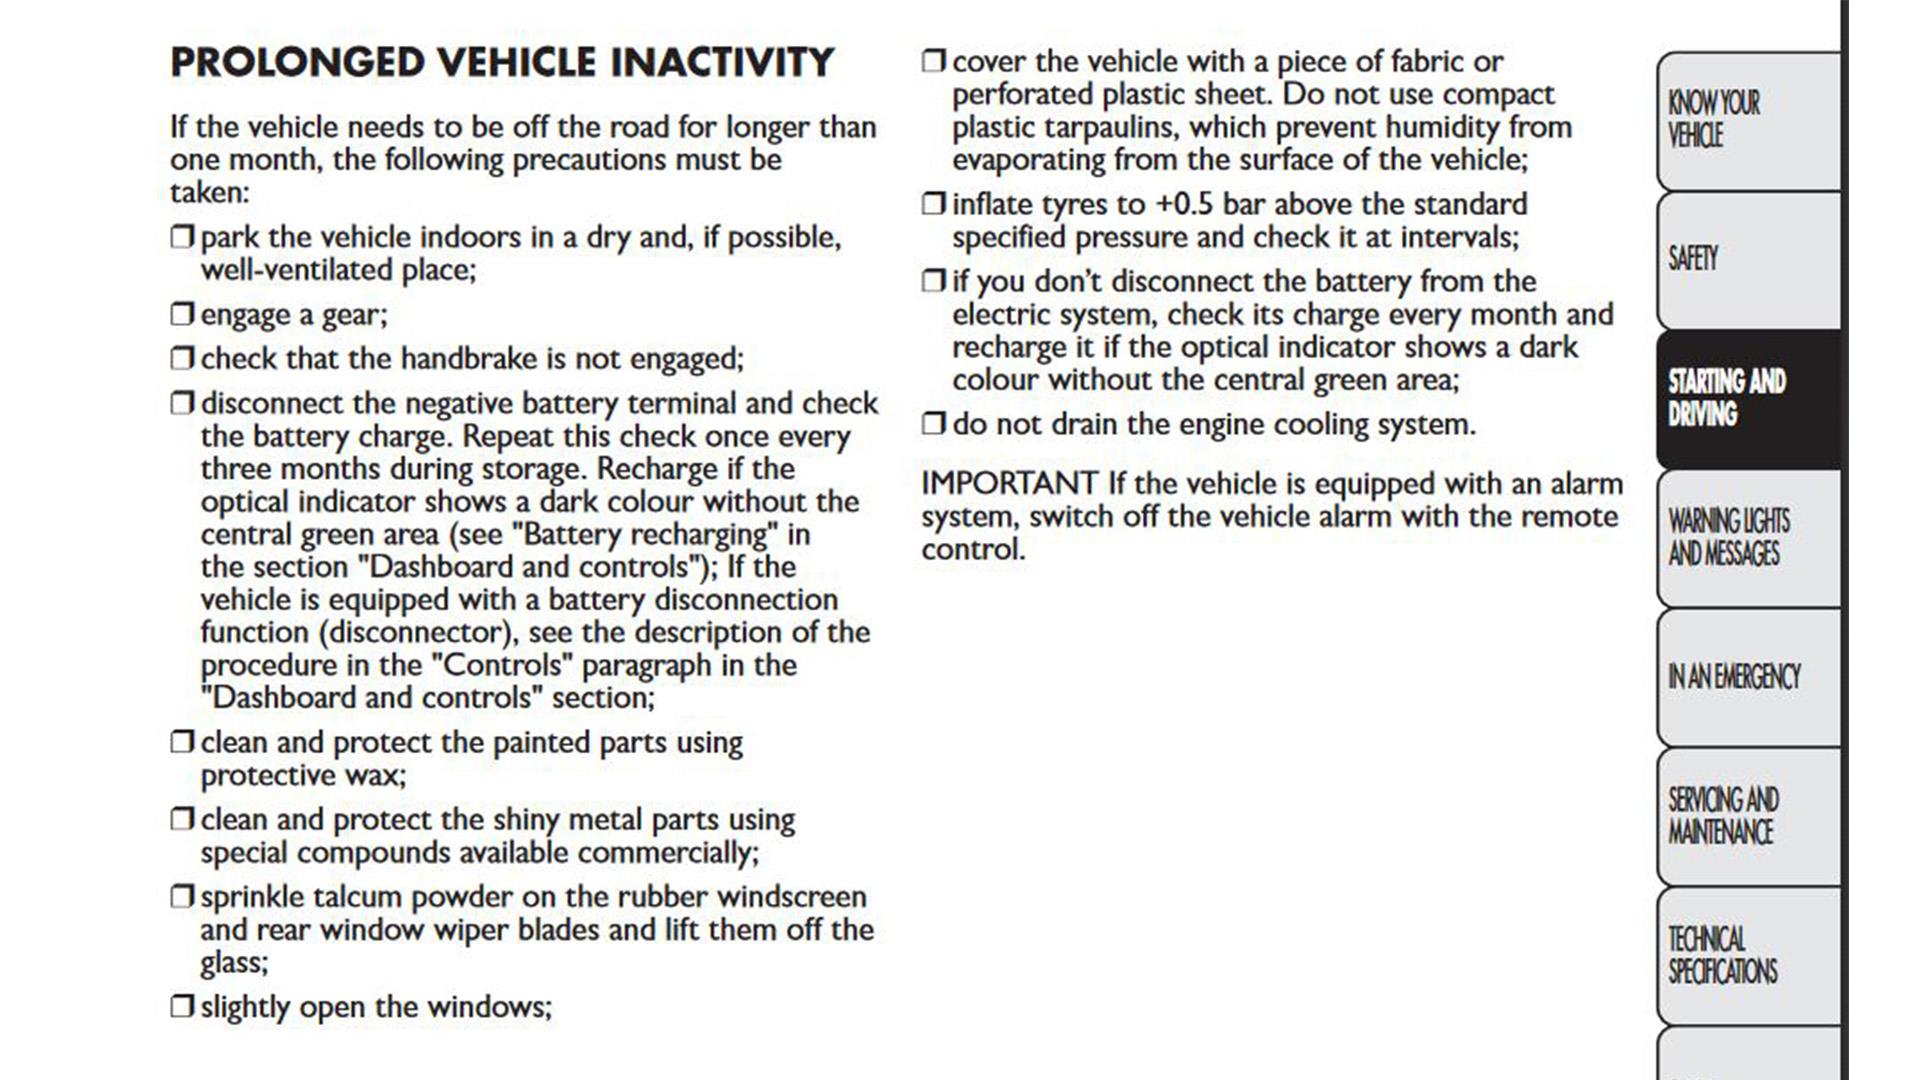
- Charge the engine battery on a regular basis to keep it in good condition – read more on this in Maintaining battery power (below)
- Increase the strength of the windscreen washer solution as recommended by the manufacturer to ensure protection for sub-zero temperatures
- Moisture-laden air can be a problem in your fuel tank, so top up your tank to full just before storing. This way there is less chance of corrosion occurring in the tank and water getting into the fuel
- Inflate your tyres to the maximum recommended figure so they are better able to withstand the development of flat spots over a long period of remaining static. It's a good time to give them a once over too, see our Expert Guide on Tyre Care here.
- Ideally you should move the van from time to time to ensure no one section of tyre is continually loaded. If you have a hydraulic levelling system fitted you can jack up the vehicle so there is no weight on the tyres and provide another level of security

- Use wheel chocks and put the vehicle in gear to secure the vehicle rather than keeping the handbrake on, which is likely to seize up on the brake drums or discs over winter
- Old engine oil contains moisture, metal particles, sludge and corrosive elements so it can be argued the onset of winter before laying up is the best time to replace the oil and filter. You should service the vehicle according to the manufacturer’s recommendations but have it inspected annually, for the sake of safety
Remember that motorhomes and campervans need two services, one for the vehicle and running gear and another for the habitation and systems. It may be that your motorhome or campervan dealer can arrange this for you but don't assume this is always the case.
Top Tip
Put a note on the dashboard to remind you to reverse any temporary changes such as tyre pressures and chocks
Take the motorhome out for a good run on a fine dry day during its winter layup to ventilate the vehicle and help prevent the running gear from seizing up
To cover or not?
Left in the open exposed to the elements your motorhome will suffer from a build-up of grime and algae growth, particularly on the roof and around trimmings. In spring, removing these winter accumulations is likely to require several stages of careful washing to avoid grinding grit into the paintwork, using a fine brush to remove algae build up around window frames and other trimmings.
Fitting your motorhome with a cover will mean that once it’s removed you can begin touring with a clean vehicle straight away. That is not to say washing can be avoided entirely because it is essential the motorhome bodywork is cleaned thoroughly before the cover is put in place. Failure to do so can result in grit deposited on the body being ground into the paintwork by the cover. While cleaning it is a good opportunity to inspect seals and joints and repair them before winter sets in to help avoid water ingress and damp issues.
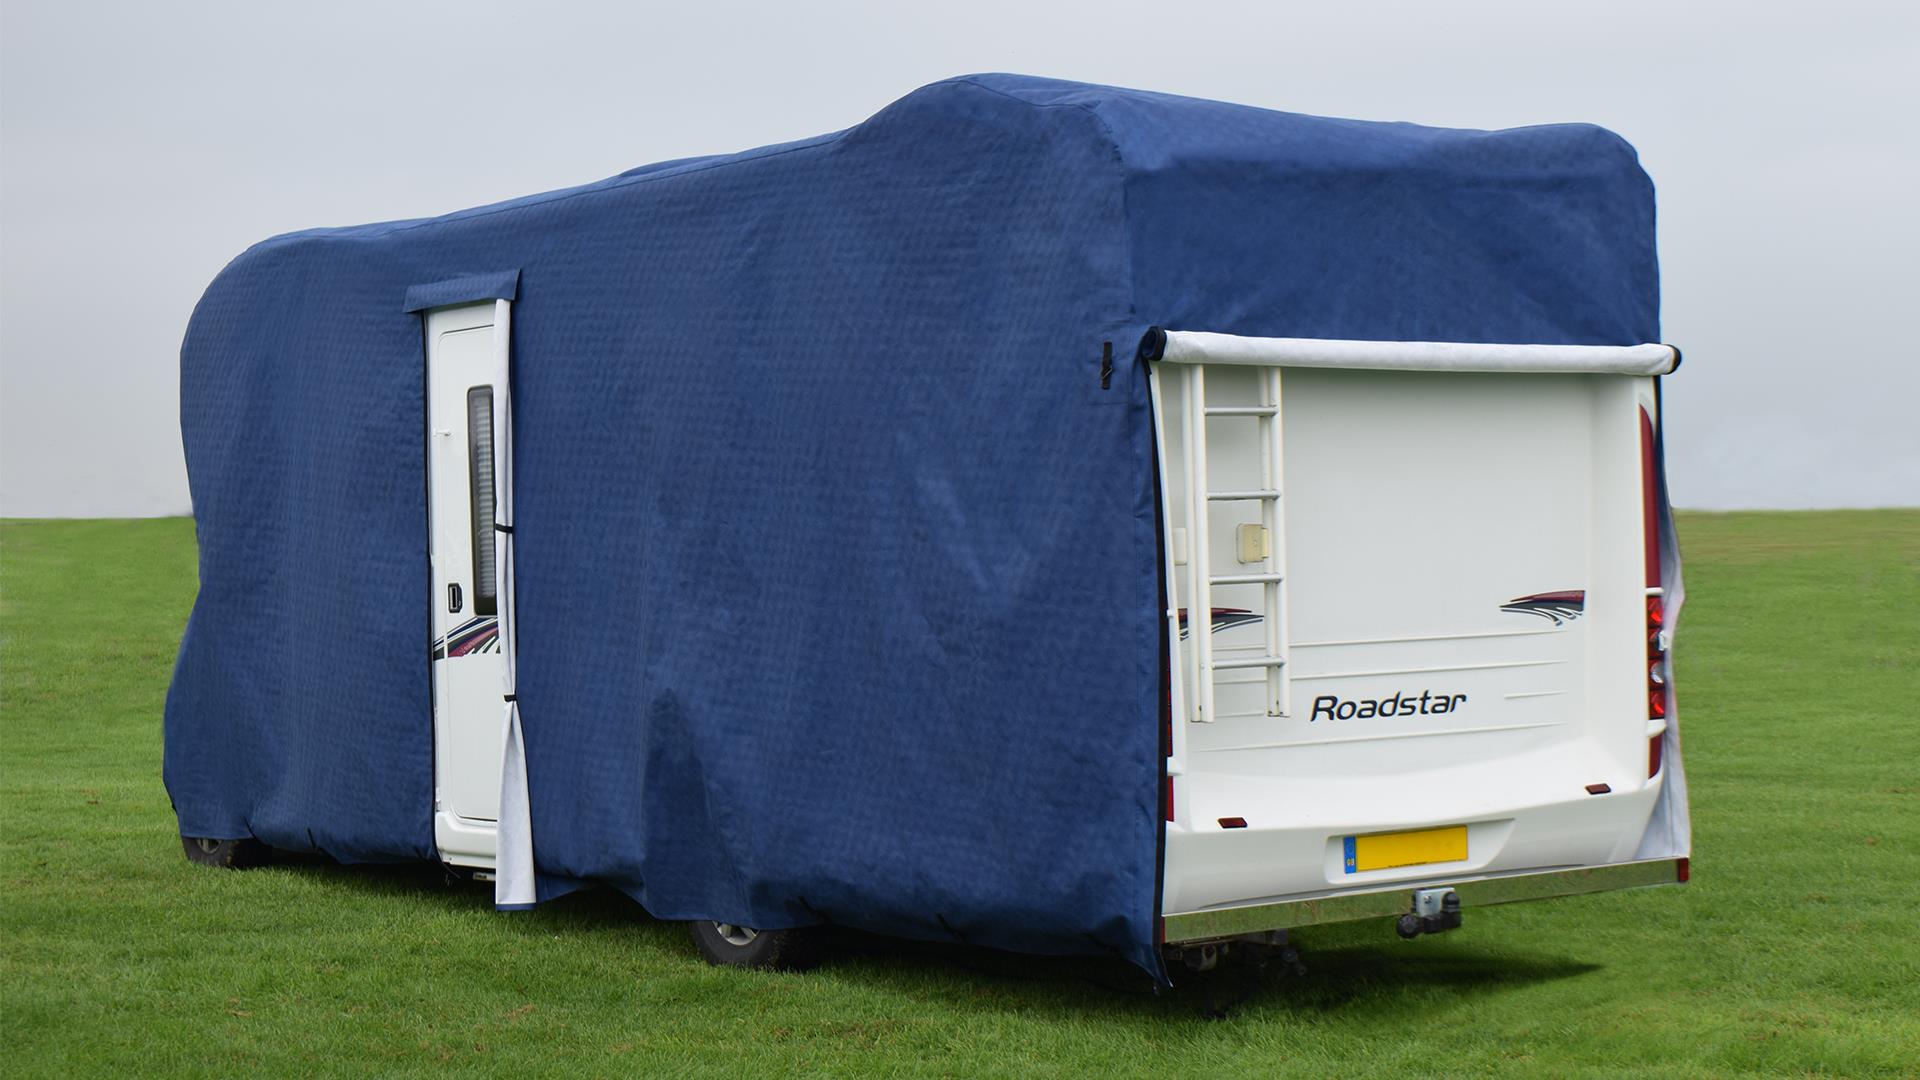
If you’re considering long term storage or fitting a cover, be sure to check the detail of your motorhome insurance policy and any converter or base vehicle warranty that still applies, regarding water ingress and paint finish.
An alternative to using a cover is to apply a protective coating such as Fenwick’s Overwintering Exterior Protector. This is sprayed or brushed on to the unit after cleaning and leaves a coating that repels water dirt and algae. The coating can be washed off with a strong solution of cleaner, but as it is bio-degradable, it is likely a normal wash at the end of the winter lay up will remove all traces of the coating.
Choosing a cover
- Opt for a good purpose-made cover that is breathable with a soft underside. A breathable fabric is essential to prevent a build-up of condensation inside and outside the van
- A tailor-made cover from Protec Covers or Specialised Covers for your particular motorhome body with allowances for after-market fittings such as satellite dishes and bike racks should eliminate any excess of loose fabric. With an adequate number of fastenings, this should prevent chafing of bodywork in windy weather
- A soft underside material further reduces the risk of the bodywork being marked by movement of the cover in windy weather.
- Never use cling film to protect windows from abrasions as it can damage acrylic materials, good quality covers will provide some additional packaging suitable for this purpose.
- Check how easy a cover is to fit. It is worth considering features to simplify fitting
- Remember to order a cover with openings if you will need access to the motorhome entry door or external lockers during the winter
- Check the guarantee period but remember that the cover is a sacrificial layer. The life of the cover will depend on the amount it’s used and the conditions it’s used in. Its life will be reduced if used extensively in summer months when ultra-violet light degradation will take its toll on the cover fabric
- Check if protective cushioning is provided for awkward protrusions on your van that if left unprotected can pierce the cover
- With a cover fitted your roof-mounted solar panel will no longer function. Made-to-measure cover suppliers can provide a translucent section over the solar panel if it is essential for maintaining your batteries, but generally they consider it introduces a weakness into the cover and will reduce the energy the panel can absorb.
Top Tip
Wash down a breathable cover from time to time. This will make sure that any accumulated grime does not reduce its breathability.
Cassette toilet and waste tank
When preparing your cassette and tank for winter it is also a good time to prepare it for the new season ahead. The first essential is to ensure the toilet cassette is empty after its last use.
- Clean the bowl and cassette body with products such as Thetford’s bathroom cleaner. If there is a build-up of limescale or other matter in the bowl use Thetford’s specialist toilet cleaner. Cleaning with a stiff brush may be needed too. Do not use domestic cleaning products anywhere on a toilet cassette as they are likely to cause damage to the cassette components
- For toilet units that have a dedicated flush water supply tank, this tank needs to be drained using the drain tube accessed just inside the cassette housing external door. Remember to press the flush button to remove any residual water in the cassette pump. For centrally-fed cassettes it is also a good idea to press the flush button after draining the fresh water system
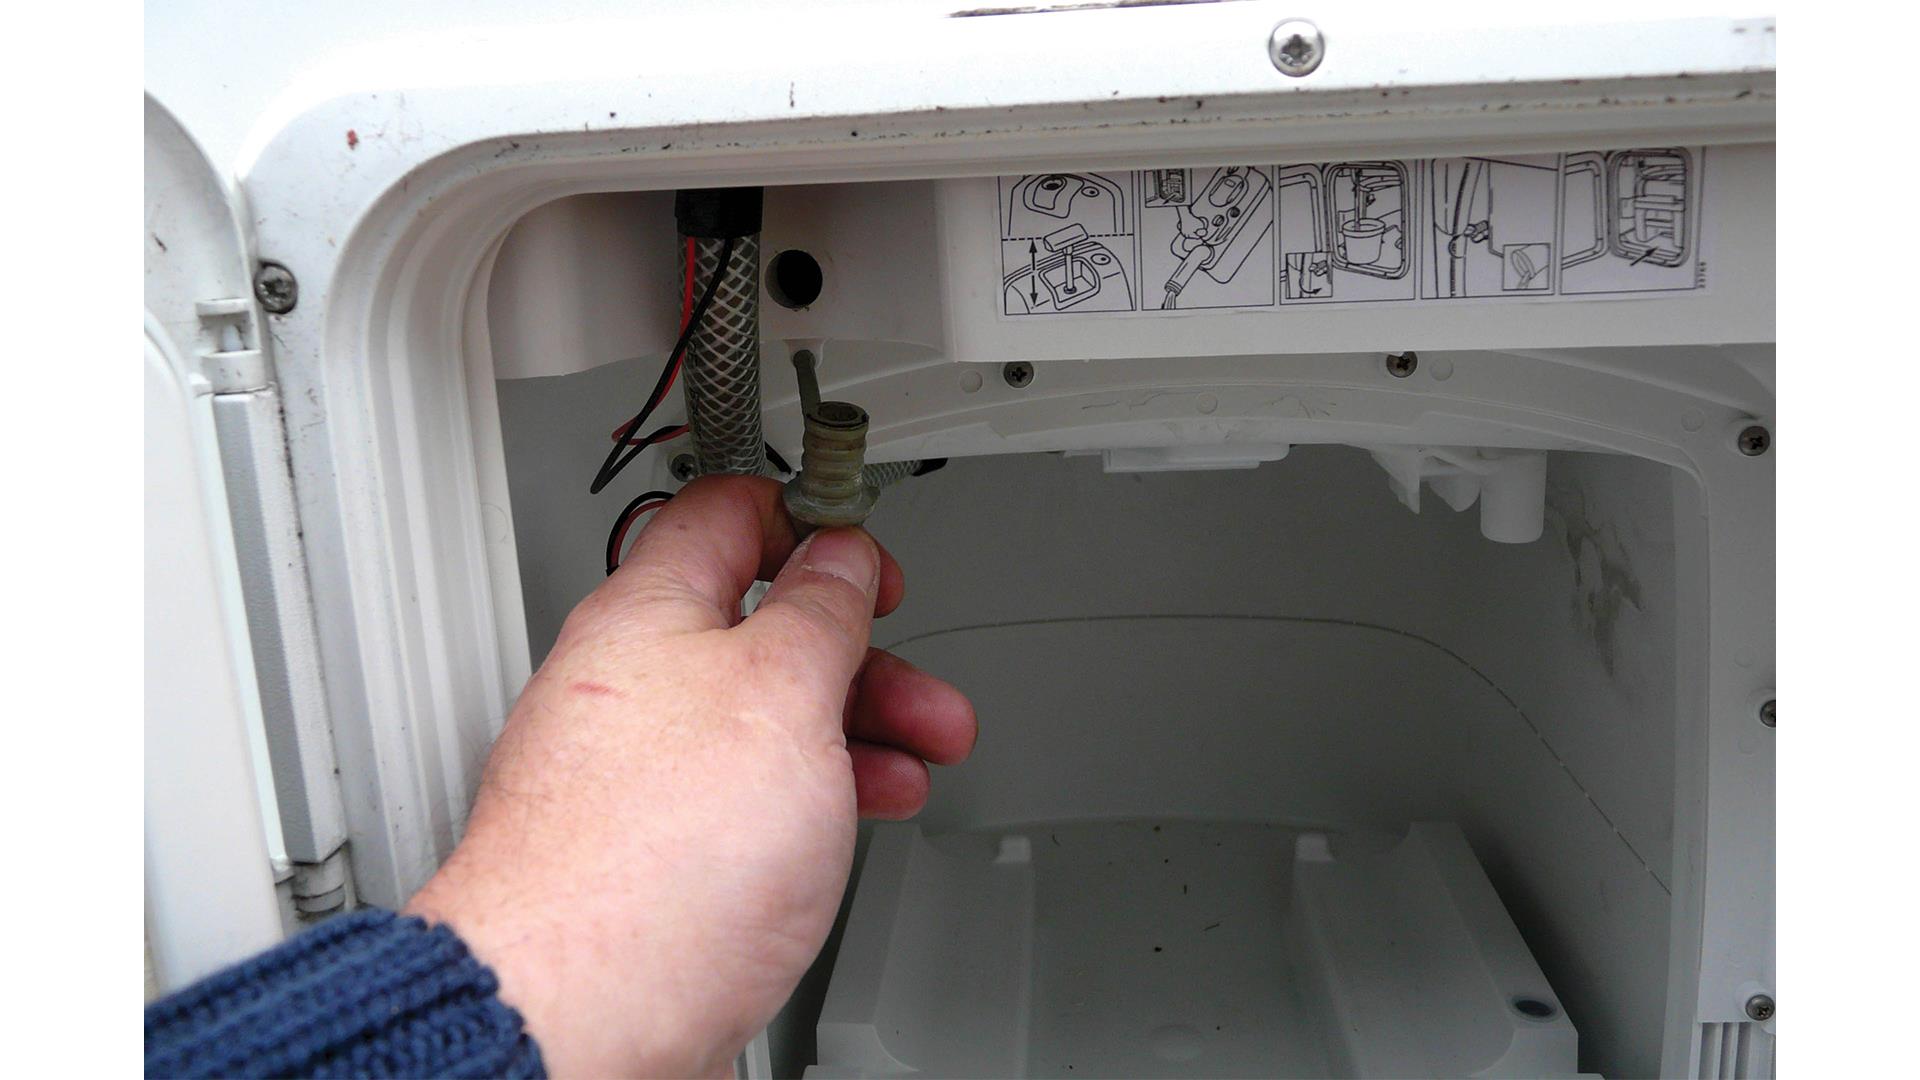
- Use special tank cleaning fluid (Thetford and Fenwick both make this product) in a warm water solution to soak and clean the inside of the cassette. Ensure all surfaces get a soaking, gently agitate from time to time and then leave overnight
- Clean the cassette valve blade and seals using Thetford’s bathroom cleaner and then lightly coat them with olive oil or use Thetford’s seal lubricant spray, which can be easier to apply. Applying lubricant to the seals will ensure they remain supple and prevent them sticking during the storage period of disuse. Never use Vaseline or other vegetable oil except olive oil as they may cause deterioration of the seal material
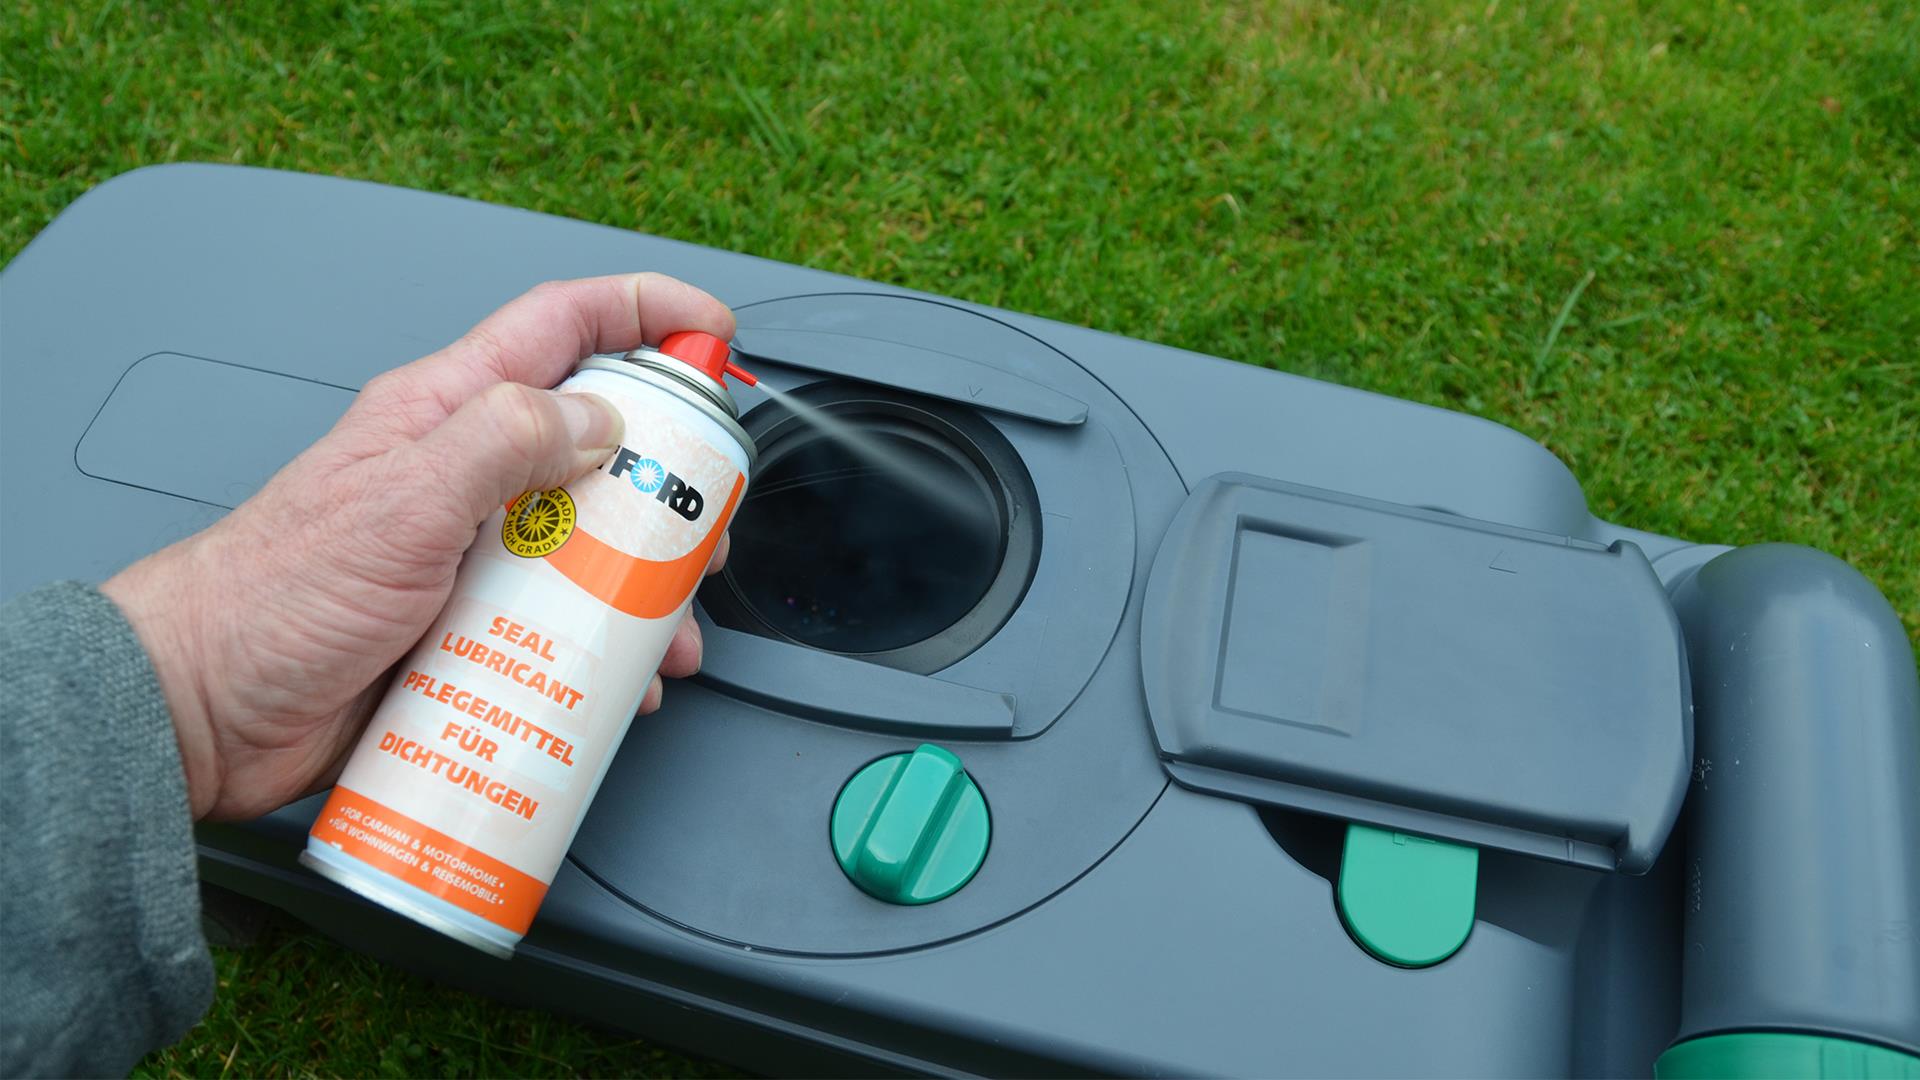
- After draining, rinse well so there is no cleaning fluid residue left to interfere with toilet fluid action, especially if you use environmentally-friendly biological fluids
- The same tank cleaner can be used for your grey waste tank
- Replace the cassette in the motorhome and partially open the blade valve to vent the tank and prevent sticking.
Top Tips
If the cassette and toilet seat are looking tired and worn consider a refresh kit from Dometic or Thetford.
Remember, if left until the start of the next season accumulated deposits will dry out and be all the harder to remove.
Maintaining battery power
Lack of use for long periods can see both the vehicle and leisure batteries becoming totally discharged and in such a state the original capacity cannot be fully restored. Permanent damage can be caused to the batteries. Anytime the vehicle is stood longer than a couple of weeks will be sufficient to deplete the starter battery to the point it will not be able to start the vehicle, so you need a strategy to avoid this.
Consider disconnecting and removing the leisure battery to a garage where its state of charge can be monitored and charging undertaken as and when required, but be sure to check your owner manual first – some converters advise not disconnecting the leisure battery for the winter.
For most campervan and motorhomes the leisure battery is not easily removed. Hence it is important to minimise the rate of battery discharge by ensuring only essential equipment is taking power. If batteries are not powering a security system then it is best to disconnect them. Where there is a security system relying on battery power, ensure the rest of the motorhome’s electrical equipment is isolated from the battery. If not already installed consider having an battery isolation switch fitted or remove the battery fuse. Just a few mA consumption over a prolonged period will drain a battery and even a fully-disconnected battery will naturally lose charge over time.
Regular driving out to recharge both batteries is one option with the added benefits to the overall well-being of the motorhome. Alternatively, a solar roof panel of at least 40W, is likely to provide enough power while in storage to keep vehicle and leisure batteries topped up, even during dull winter months. Check your control system allows for the solar panel to charge the vehicle battery as well as the leisure battery. If close to mains power using a charger for a few hours regularly to top up the batteries can help too.
For further information on battery care refer to the Club’s Expert Guides to leisure batteries and Charging a leisure battery.
Gas systems
Before you store your motorhome, check all valves on gas cylinders are closed or if clip-on type regulators are used make sure they are disconnected and caps or cloths are fitted over the ends of any open pipework. When handling, connecting or disconnecting gas cylinders, ensure engines and electrical equipment are switched off.
Check with the storage site operator if your gas cylinders may remain in your vehicle’s gas locker. If not, you need to find an alternative storage location for the cylinders. Storage needs to be in a ventilated place, preferably in the open air where in the case of a fire their presence is obvious to fire service. Gas cylinders should never be stored near open drains, openings into cellars (LPG being heavier than air) or near buildings. The cylinders should also be kept away from heat and readily-ignitable materials and corrosive materials.
Where bulk tanks are fitted, make sure the valve is closed. There is normally an electrical switch provided to isolate the cylinder with a back-up whereby once the habitation battery power is off the isolating valve is automatically closed.
Winter storage check list
- Water system drained and taps left open
- Waste and fresh water tanks emptied and valves left open
- Toilet cassette emptied and cleaned and flush water tank drained (where installed)
- All food and drinks removed and interior cleaned
- Fridge cleaned and door latched open
- Seat cushions removed or stored upright for good ventilation
- Batteries charged and arrangements made for monitoring
- Engine and windscreen wash water anti-freeze adequate
- Base vehicle and habitation service schedules are up to date
- Storage and security set up adequate
- Fuel tank full
- Vehicle wheels chocked, handbrake off and in gear
- Tyre pressures increased
- Accessories prepared for storage including awning
- Gas cylinders isolated and removed if necessary
- Security alarm, tracker and other security systems activated
- Drive your motorhome periodically if possible
Top Tip
If not already arranged, now is a good time to book your next service to avoid the high demand at the start of the new year. contact your supplying dealer or visit the Approved Workshop Scheme website. If your vehicle is stored on private land and you don't intend to use it you can consider a Statutory Off Road Notice or SORN, see the How to video at the end of this Guide.
Further information
Further Expert Guide information and videos on related topics are available here
Security for Caravans, Motorhomes and Trailers
How to lay up a motorhome for winter
How to SORN a vehicle

