Expert Guide to Winterising a Caravan
So, you’ve had your last caravanning trip of the season and it’s time to put your unit into hibernation until spring. No matter where you store it, there are lots of things you can do to ensure that everything is in good working order when you get it out again for next season’s touring.
Benefit from expert advice, retail discounts and money off pitch night stays when you join the Club.
Much of this relates to draining down water systems to prevent any possible damage from frozen water, ensuring best possible ventilation around the ‘van, and checking the internal and external fabric is set-up for long-term storage. As well as the cold, other climate factors to be aware of include damp and even air pollution.
Also, this guide offers advice on tyres, security and other issues. All of this is based on common sense and tried-and-trusted techniques found to work when putting your caravan away over the winter. Follow these simple procedures and you’re well on the way to trouble-free caravanning the following season.
Where to store?
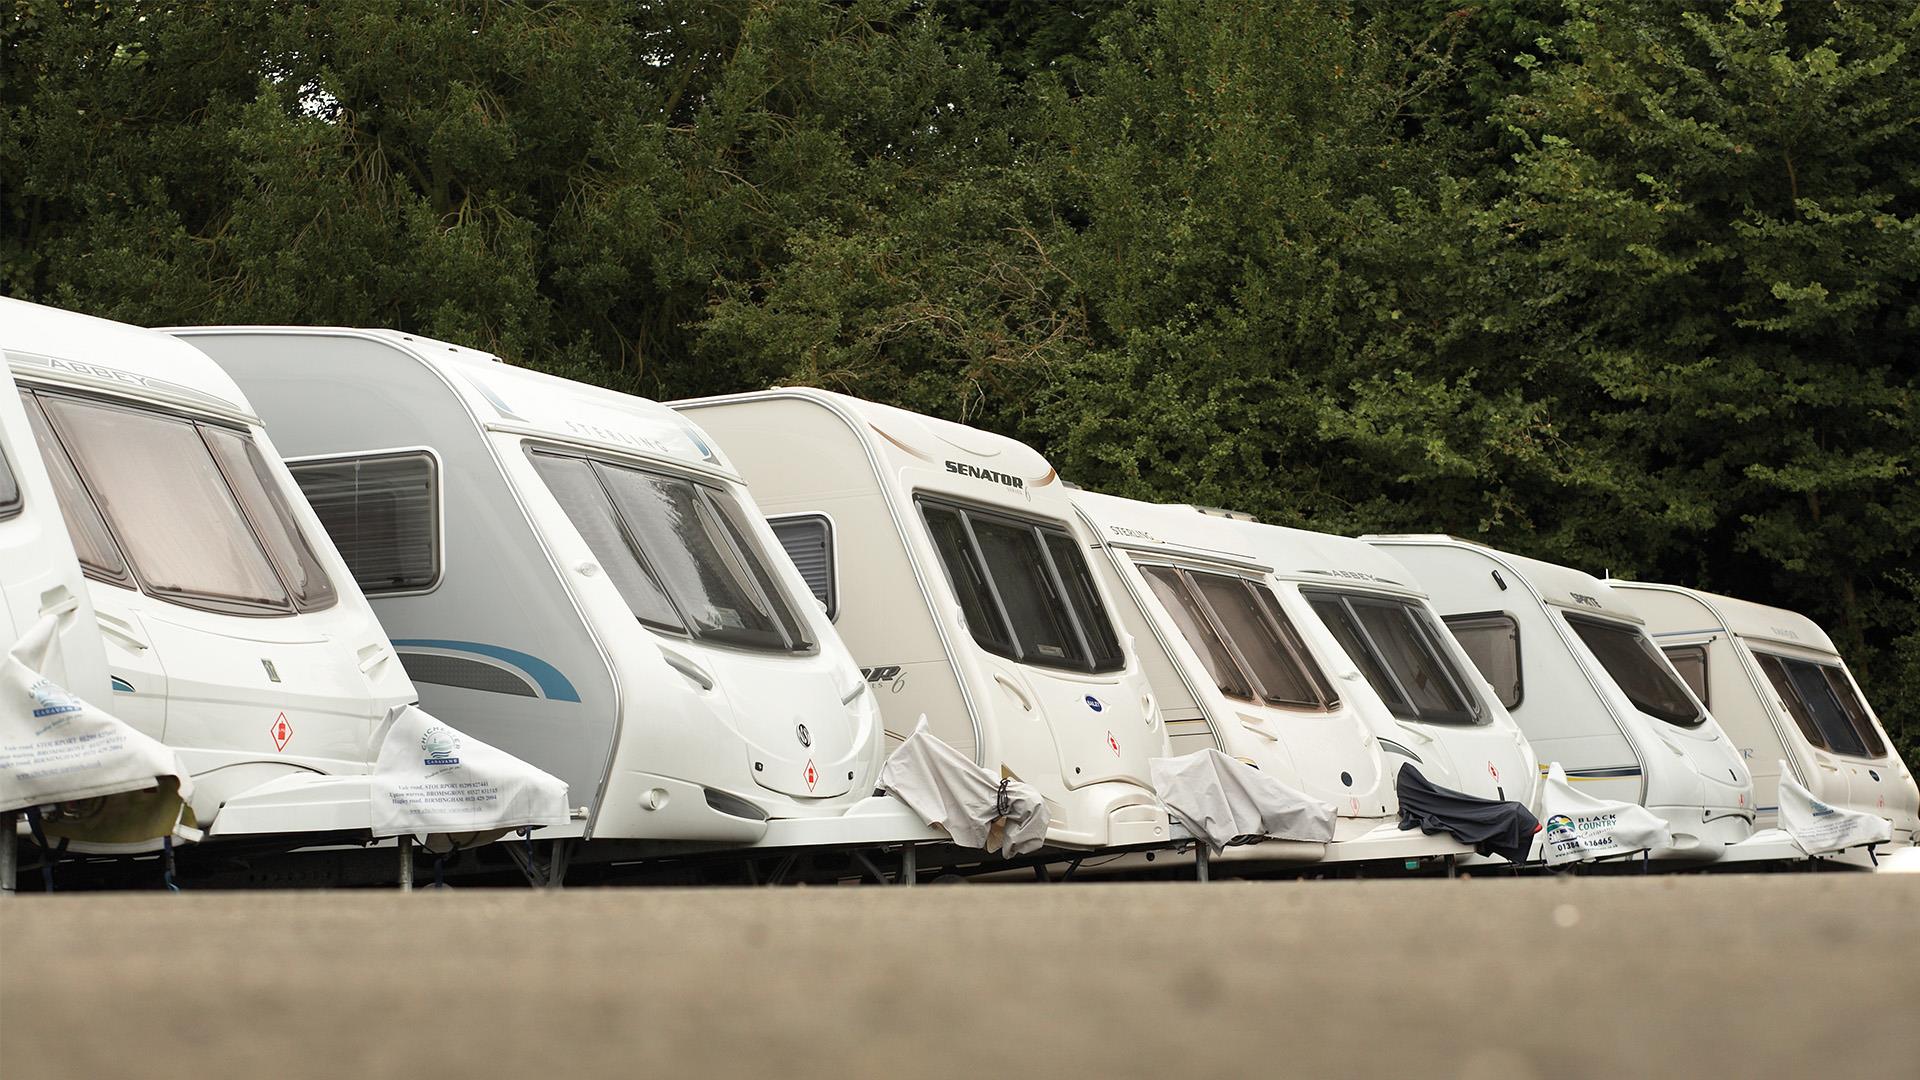
It’s up to you where you choose to store your caravan, but generally the choice boils down to outside your home or at some kind of remote storage compound – a campsite, specialist storage site, local farm or similar.
To find a good storage area near you check go online at myccc.co.uk/storage Club Sites offering storage facilities. You can also contact the Caravan Storage Site Owners Association – CaSSOA (cassoa.co.uk, 0843 216 5802), which offers a range of sites throughout the country graded according to security provisions. Security should be one of your priorities, an inexpensive location on a farm may prove to be a false economy if your caravan is damaged or not there come spring.
Caravans are of course designed for use outside, but it’s not ideal for them to sit around in one place for long periods. Shelter can be great, but it’s not a good idea to be directly under a tree. Leaves, branches, bird droppings… indeed anything that could drop out of the sky is a potential cause of damage to your caravan. There are sites that offer undercover storage, but these are rare. Before signing up, visit the site and check out how and where the caravan will be stored.
The plots on some sites can be rather close, limiting the use of your towcar and requiring a good deal of manoeuvring to get in place. This can be reasonable if the surfacing is hard, but if the surface is loose gravel or grass, without a motor mover you may find parking hard work. Also check out the written conditions and facilities – some sites will park up the caravans for you, some may have restricted access times, some may have battery charging and cleaning facilities available. Ask if the site has a vermin-control programme in place – infestation with mice can ruin a caravan and such damage is excluded from the majority of insurance policies. Having decided where to store your caravan over winter, be sure to advise your insurer.
Looking after the bodywork
Preparing the exterior of your caravan prior to winter will certainly pay dividends the following spring. Irrespective of whether you intend to use a cover or overwintering wax coating to help protect your ‘van, a thorough cleaning is essential. Thorough cleaning of the body also provides the opportunity to inspect the bodywork for any kind of damage as the winter season is a good time to get it fixed when workshops are less busy.
Always use proprietary caravan cleaning agents that are designed to be kind to the various materials used in caravan construction. Beware the use of pressure washers. These are often powerful and can direct spray under trim and damage bodywork and seals. Pay particular attention to removing any signs of green or black mould, it may create conditions where the aluminium or plastic surface is permanently marked if left to grow over winter.
Also, take a personal-safety-first approach to cleaning your caravan. Be careful about stretching and using ladders, especially when it comes to cleaning the roof, which might not appreciate your weight on it!
Of course, there are other external aspects to consider:
- Tyres – these do not like standing around on the same piece of tread for long periods
- Consider turning the wheels, say every six to eight weeks and raise the pressure to help reduce any problems, but don’t forget to drop the pressures down when you go on the road. Ideally shield the tyres from sunlight to help prevent degradation of the rubber but avoid using plastic bags that seal the wheel and bearings and may cause condensation in the hub. Winter wheels (special clamps instead of wheels) can be used, but they do not meet the required criteria for some caravan insurance policies, so check first.
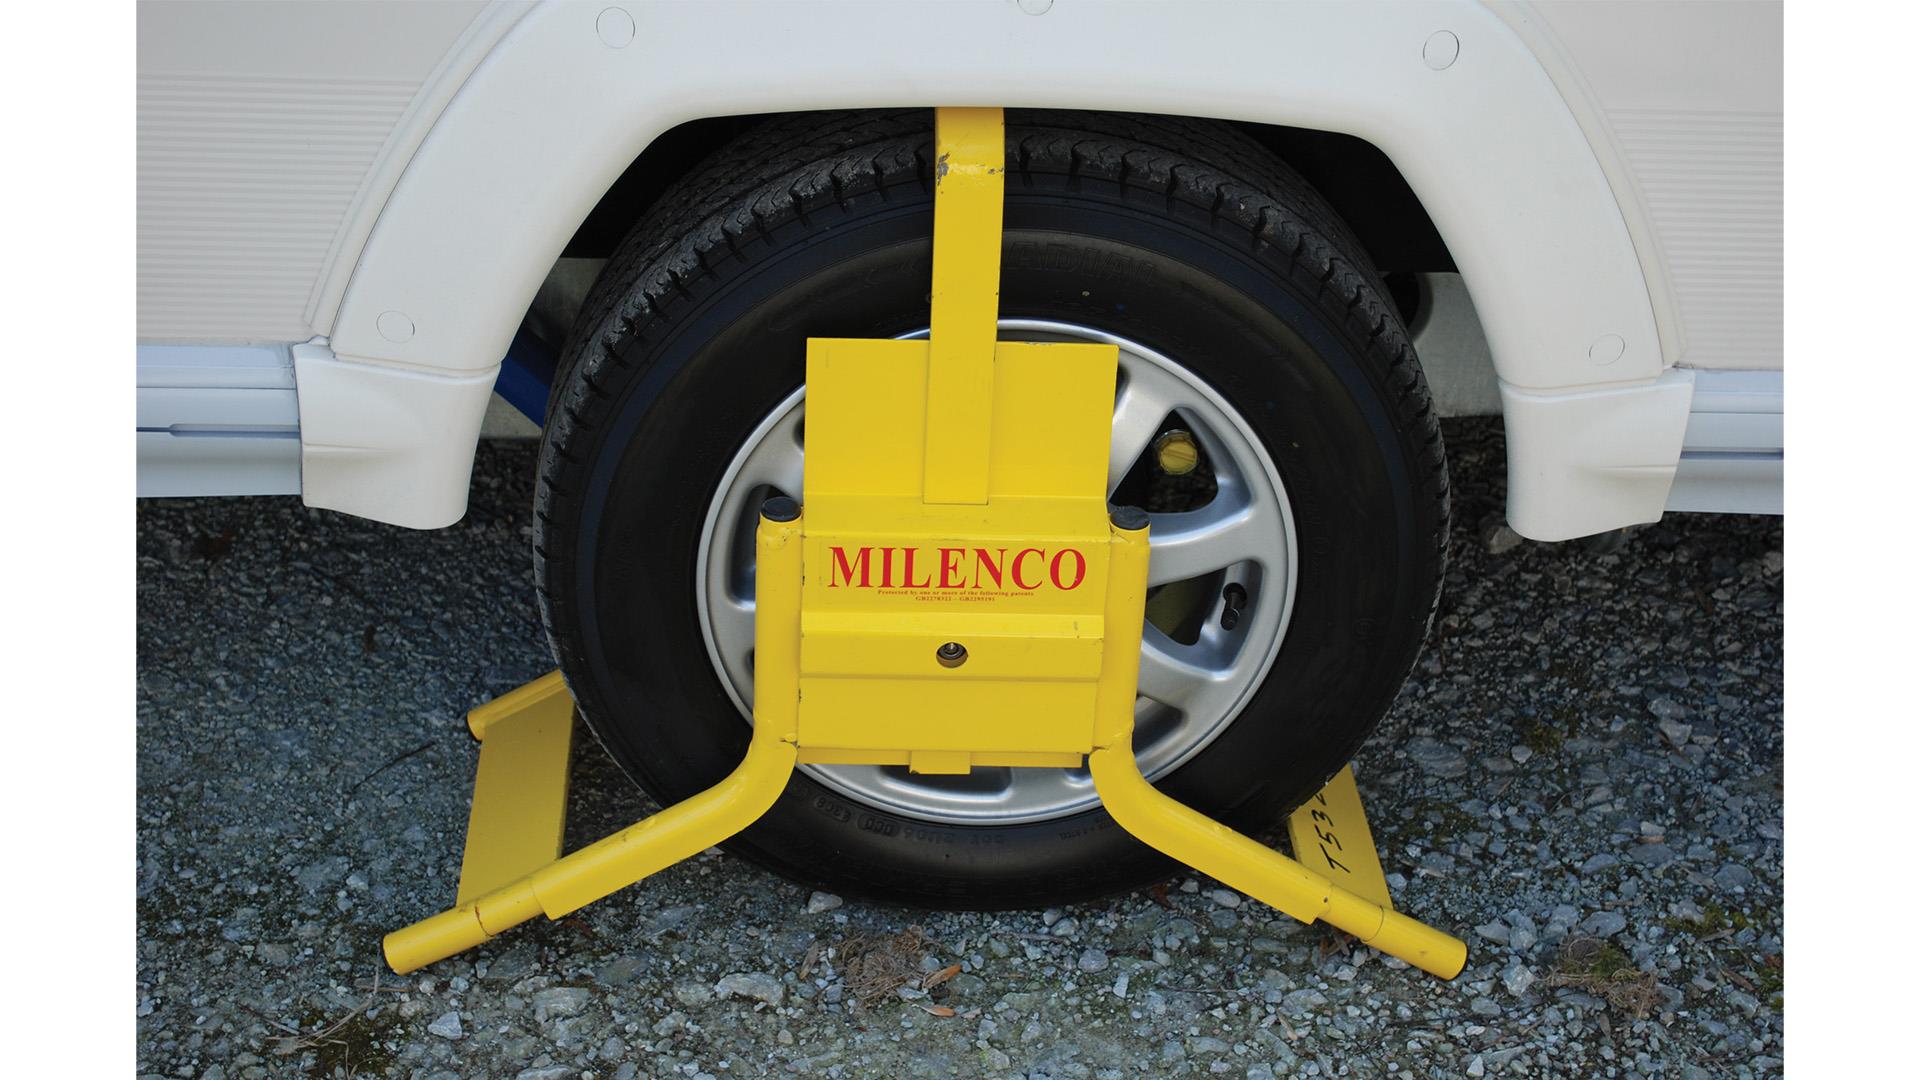
- Security – remember to fit hitchlocks, wheelclamps and the like, and don't forget insurance policies usually require some form of mechanical security to be fitted while in storage. If nothing else, these act as a visual deterrent – for more information see the Club’s guide to keeping your caravan, motorhome or trailer secure.
- On older caravans, exterior light fittings can benefit from the removal of the lens, a quick clean of the seals and lens (inside and out) and the checking of any electrical connections, before replacement.
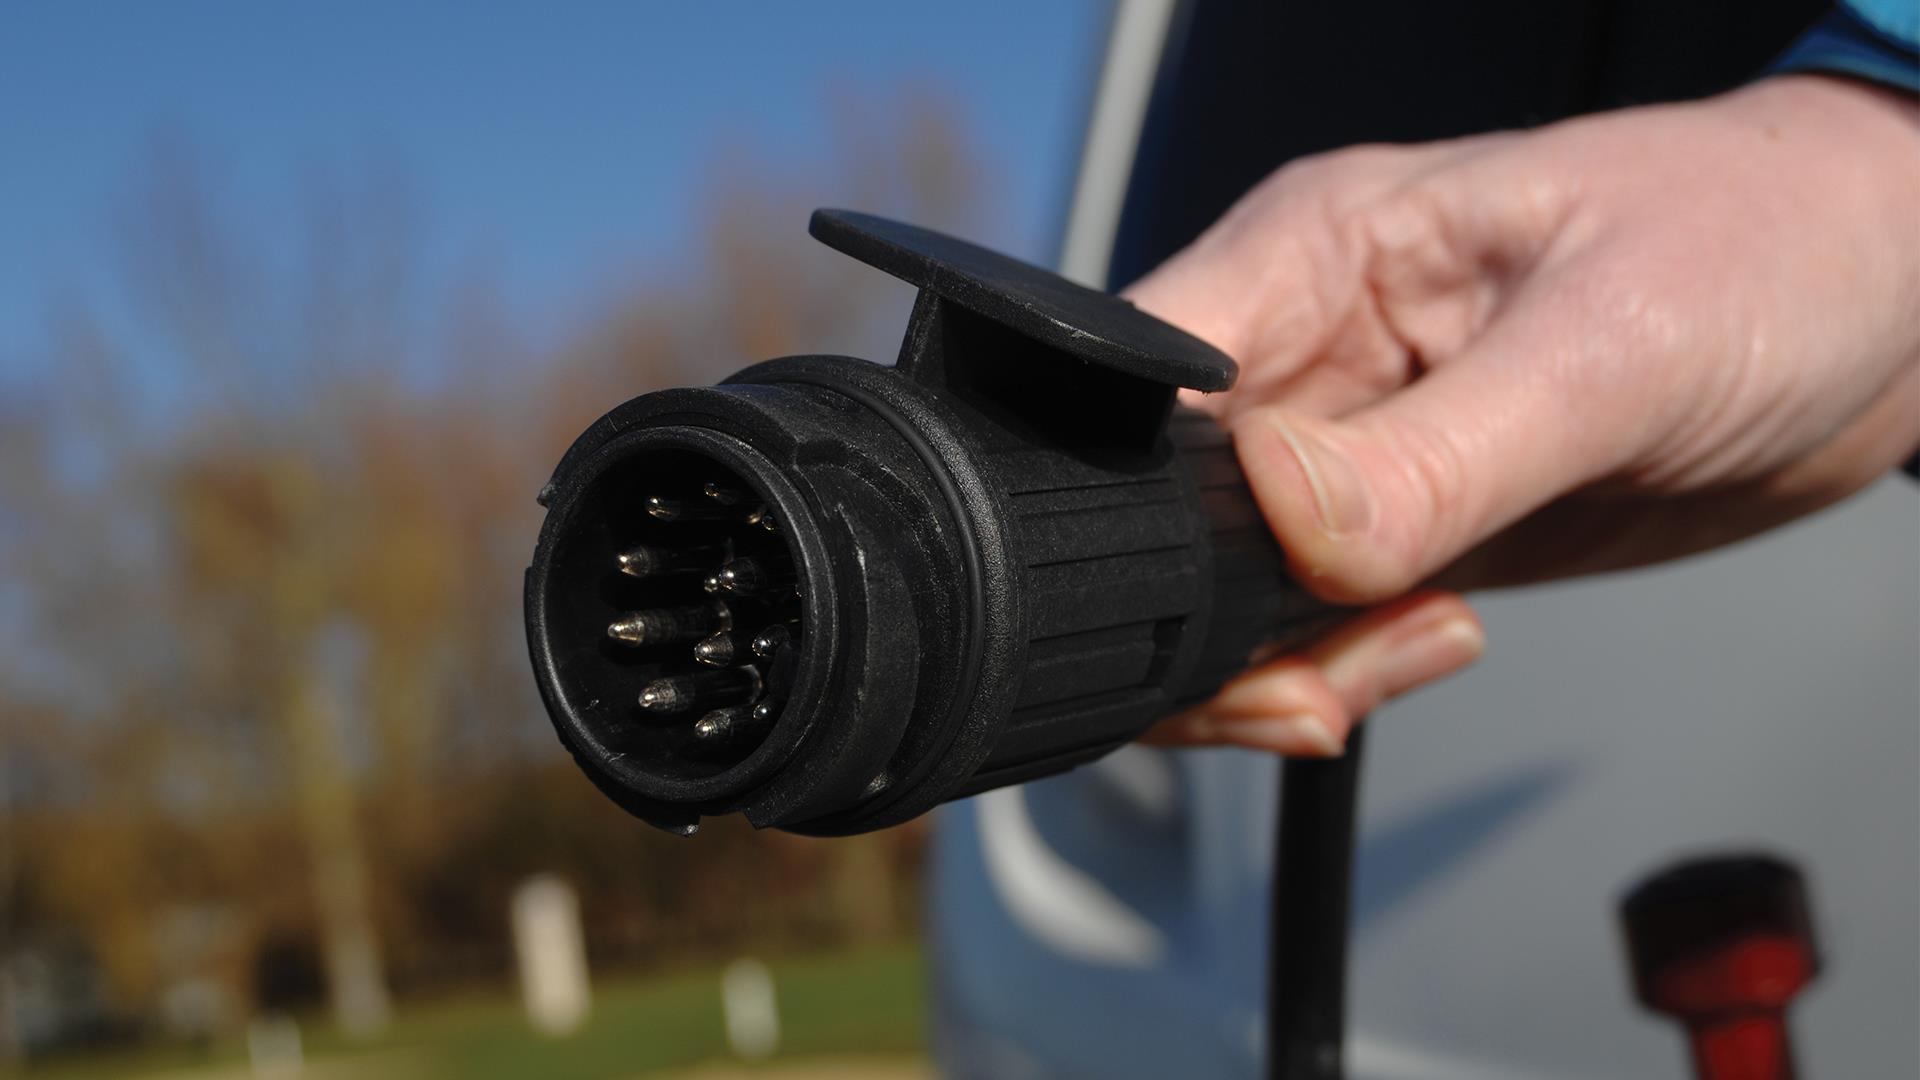
- Check your 13-pin or 12N and 12S (7-pin) car-to-caravan connectors for any signs of wear or damage. The electrical contacts should be cleaned and wiped over with petroleum jelly or sprayed with a water dispersant such as WD-40 (after checking it will not affect the plastic).
- Ideally, store your caravan with all corner steadies down and the handbrake off, to prevent it sticking. Use wheel chocks if necessary.
- Apply grease to any moving mechanical parts or linkages, such as corner steadies’ rotating screws and the spare wheel carrier.
- Finally, if you have been on the road late in the year during icy conditions then it will be worthwhile washing and brushing down the chassis to clear off corrosive road salt.
Interior actions
- Vacuum clean and wash down your caravan’s interior throughout. As well as getting everything clean, it’s a great way of checking you don’t leave anything untoward in a cupboard or seat base. Creating best possible air circulation is the key to keeping your interior damp free.
- Cleaning the kitchen thoroughly should prevent any mould appearing here, although for the fridge it is also essential to leave the door ajar – there is usually a special catch provided for this purpose. Use products designed for caravan use, rather than normal domestic cleaning fluids, as these may cause damage to surfaces and seals in a caravan.
 Fridge doors have a hold open catch
- Cushions are best left standing upright away from the caravan walls after vacuuming. This helps aid air circulation and prevents mildew occurring, especially in units with solid ply bed bases (as opposed to slats). A further measure to keep upholstery in top condition is to cover with a breathable material such as old cotton sheets to keep the dust off. Ideally if you have room, store cushions at home in the warm, which is also a deterrent against caravan theft.
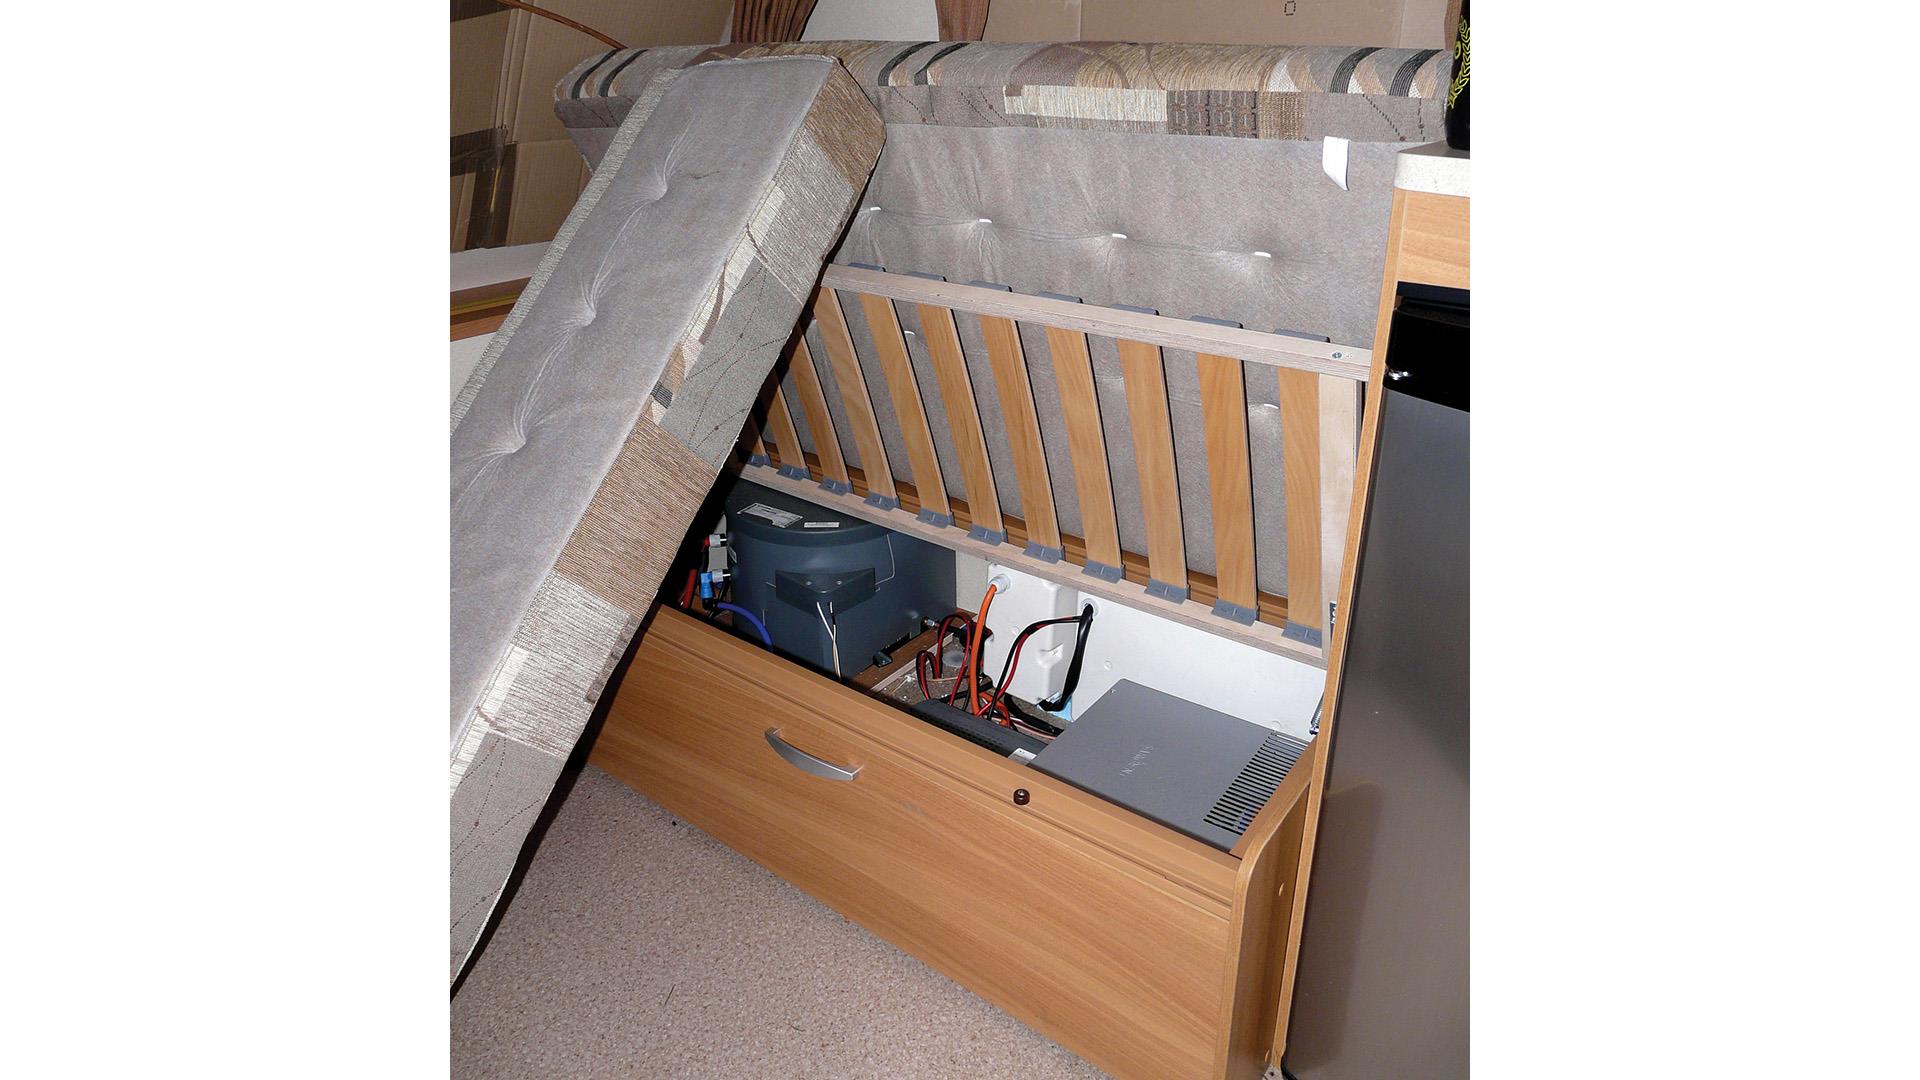
- Fixed beds are best left in the open position, this aids air circulation. Consider using a temporay support to remove the bed weight from gas struts.
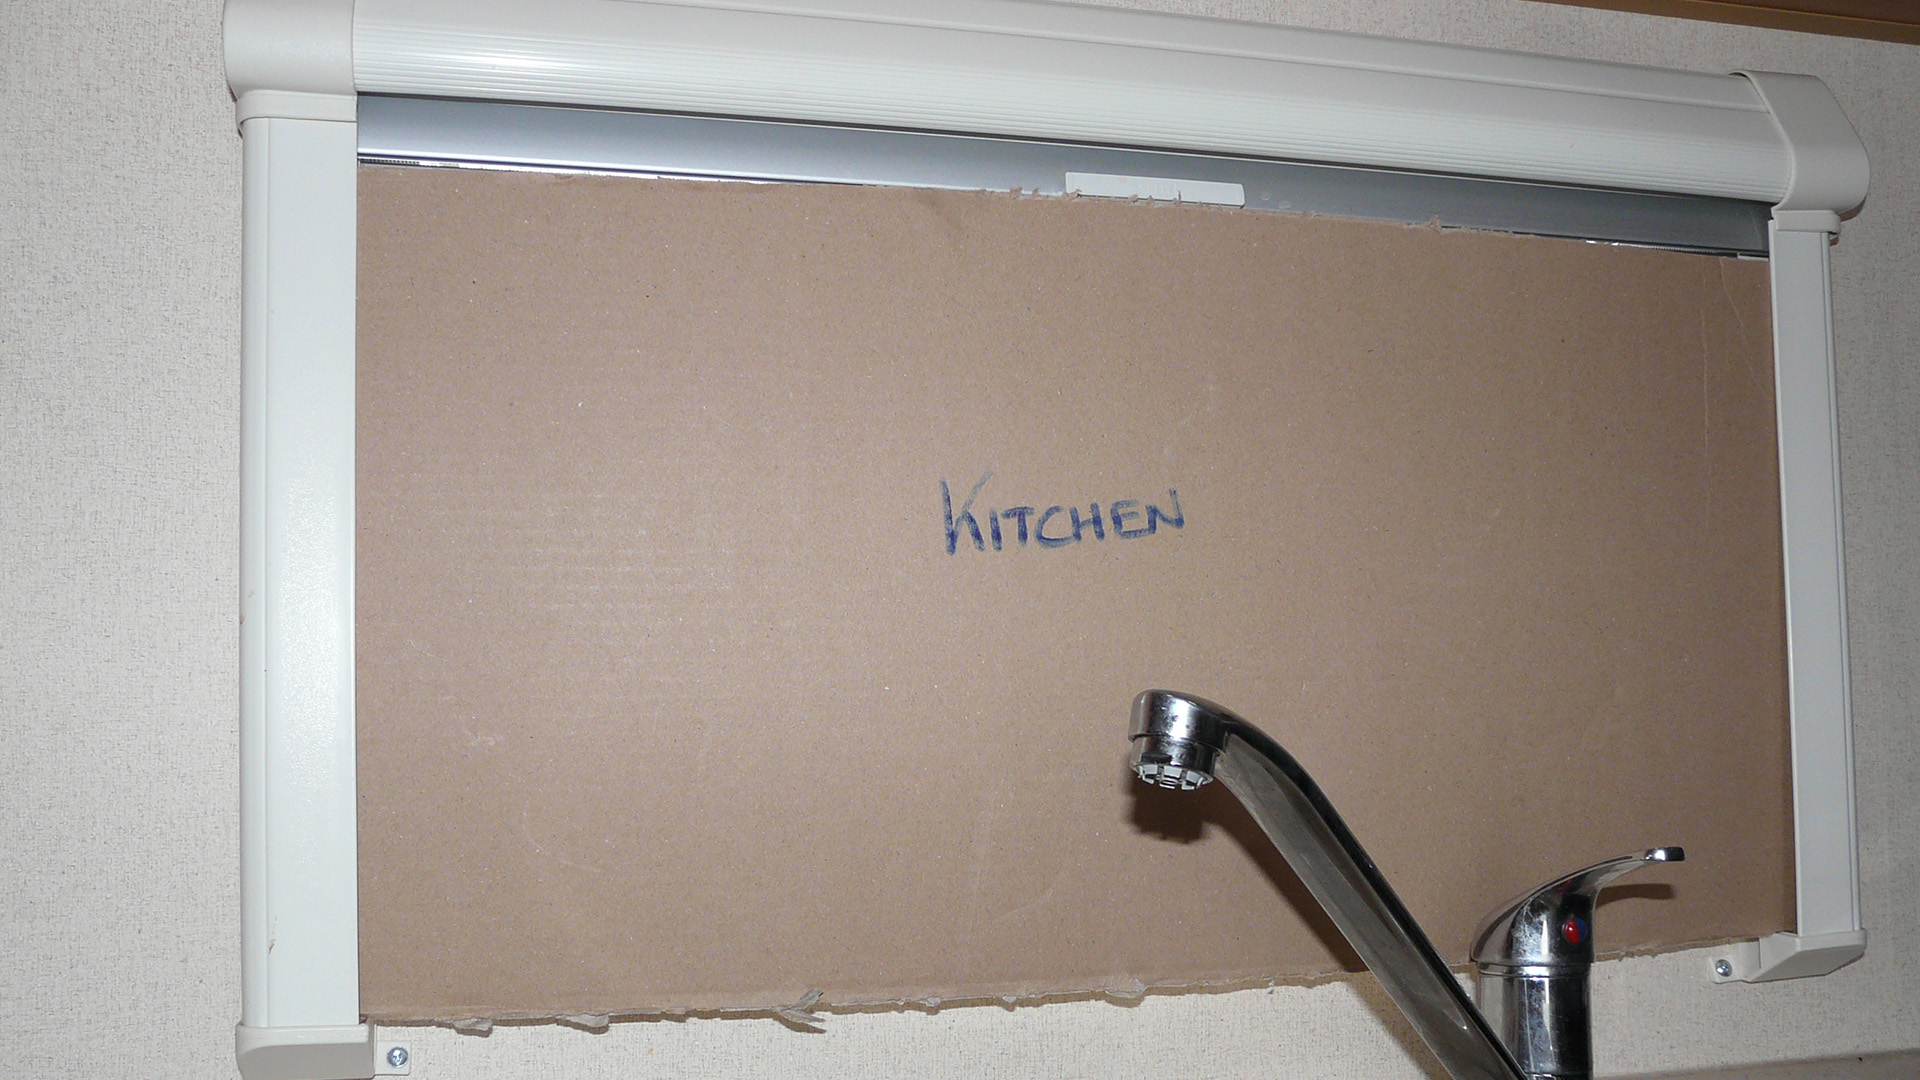
- For blinds with any kind of spring mechanism, it’s best to leave them open, otherwise the springs are gradually stretched over a period of time and subsequently fail to work efficiently. Consider making cardboard screens for each window.
- Leaving locker and wardrobe doors open optimises ventilation.
- Make sure all rooflights and windows are fully closed.
- Lightly coat hinges with thin oil or water dispersant such as WD-40 to protect against rust, taking care to avoid contact with door surfaces.
- Make sure floor drop vents are kept clear to aid air movement, and reduce the chance of mould taking hold.

Mould issues
Mould likes dark undisturbed areas, especially if they are damp. If you have mould you need to kill the spores to prevent it spreading. White vinegar or a dilute bleach solution will do the job however these may damage surfaces so check they don't beforehand. Caravan accessory retailers may have products more suited to the vehicle materials. There is no guarantee that cleaning will remove stains caused by the mould so the best advice is to try to avoid the mould in the first place.
Regular inspection for damp is also sound advice to nip any water ingress as early as possible, this will reduce the severity and cost of any repair.
Water Systems
Draining down is the best form of protection from frost damage, but it is important to ensure the system is fully emptied, just a small amount of water trapped in a tap head can cause costly damage.
Drain down procedure:
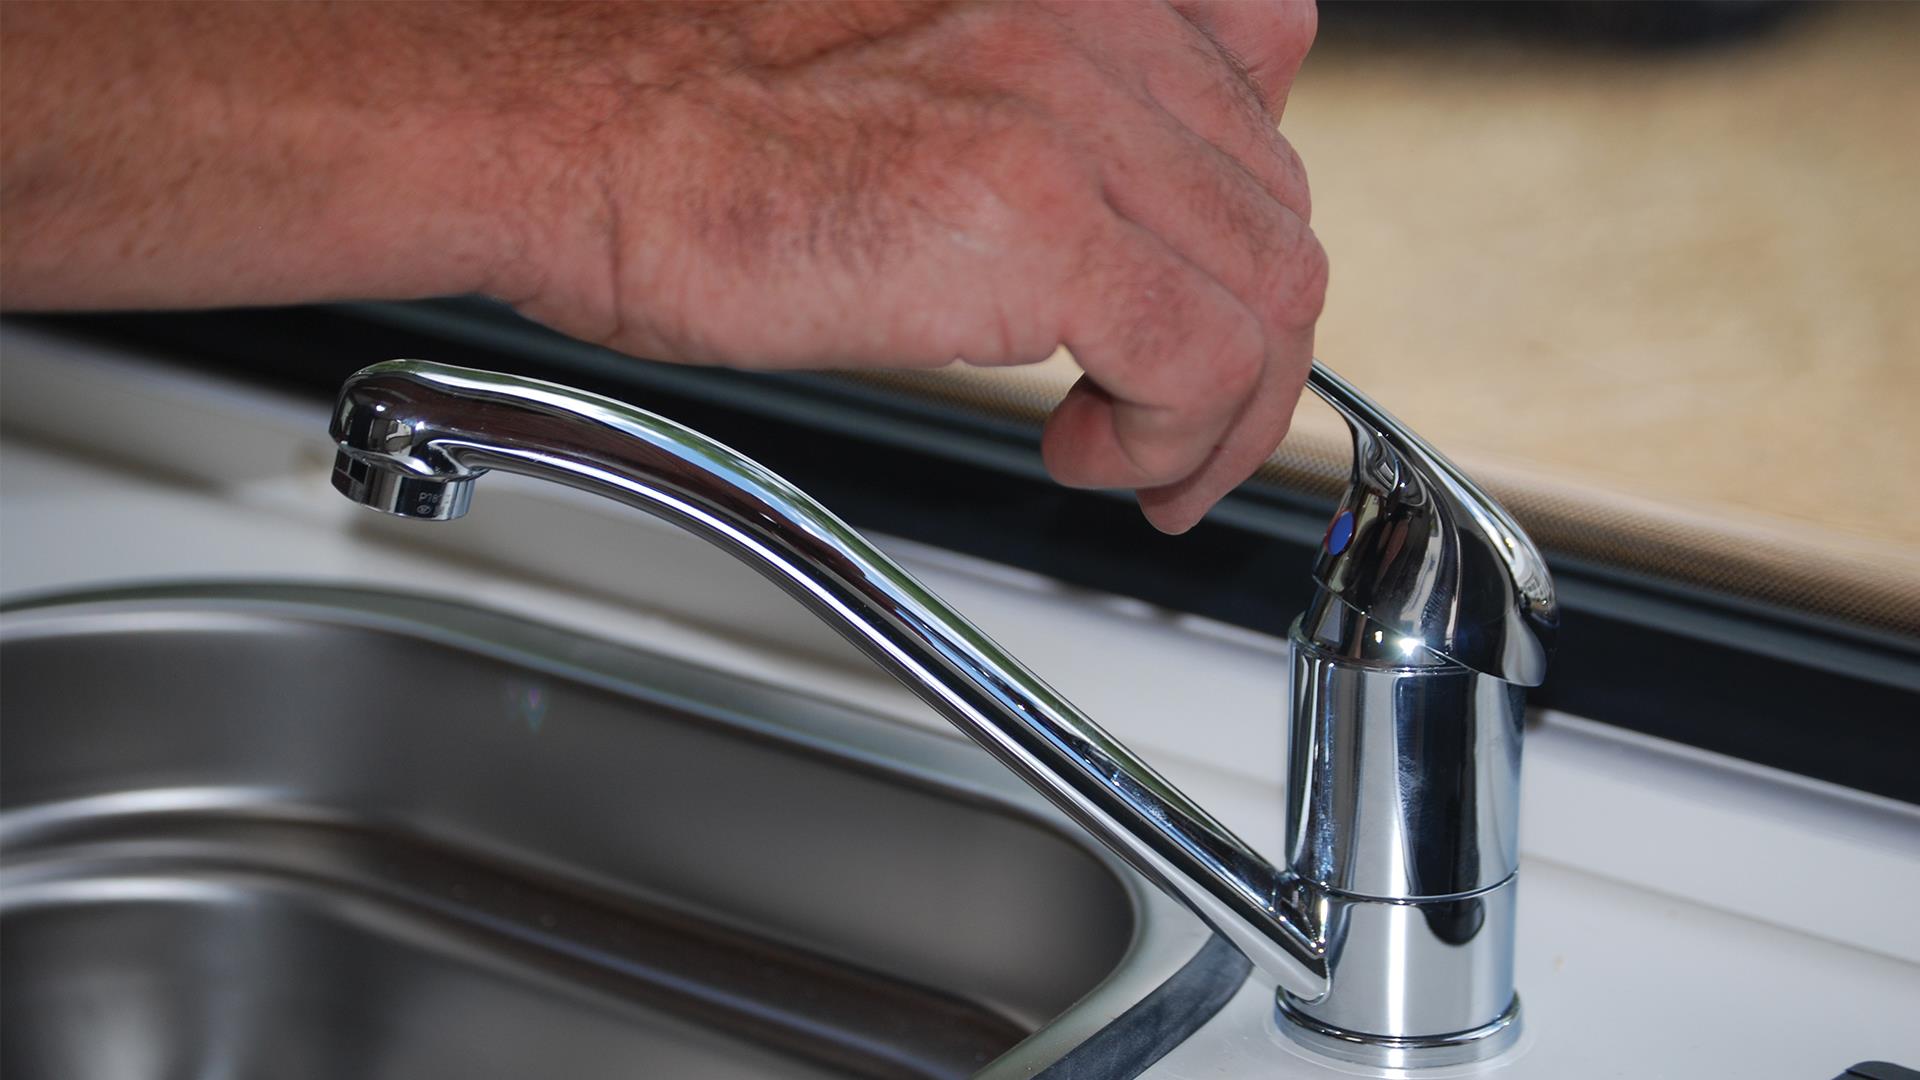
- Start by opening all taps (for mixer taps ensure the lever is in the central position to allow both hot and cold to drain).
- Open all drain valves and remove any drainage plugs (keeping them in a safe place), not forgetting the external plug for older water heaters.
 Water system dump valve
- The shower head is best removed and shakenfree of water.
- If you have an internal water tank, it should have some means of drainage and/or removal.
- Remove any filters and save them for when you sterilise the system in spring (some sterilisation treatment damages the filter) and then replace.
- If you have an on-board pump, run it for a few moments to clear it of water, most good pumps can be run dry for a minute or so without any problem, check your handbook for details. Your external submersible pump can be shaken free of water.
- Don't forget your Aquaroll or other portable water container, drain it and allow it to dry out thoroughly to prevent mould growth.
- Finally, one of the more effective ways of achieving full drain down is to empty the system on your last stay on site and leaving any drainage points open before towing home. The final journey allows the last drops of water to leave the system. Be aware, however, that it is illegal to discharge water on to the highway.
Go with the Floë
An alternative and very effective way to drain the system is using a Floë Drainage Kit. This uses a compressor or foot pump (not supplied) to force the water out of the system preventing issues with stagnant or freezing water in the outfit's plumbing.
 Keepfloeing adaptors are available for a number of different installations
It can also cope with moving trapped water if some of the hoses sag. It is compatible with caravans, folding campers, motorhomes and static caravans and is very easy to use. Various adaptors are available to suit your particular installation: keepfloeing.com.
Toilet duties
- If your caravan has a cassette toilet, this should be thoroughly drained and cleaned before storing over winter.

- Drain the flushing water tank via the drain tube, if it's provided, or flush as much water as you can through the system and into the cassette waste tank.
- Remove the waste tank, empty and clean it out.

- Clean and wipe the valve blade sealing the toilet from the waste tank with an appropriate seal lubricant (or silicon lubricant, but do not use petroleum jelly or any vegetable oil except olive oil).

- Manufacturers often also advise leaving this valve in the partially-open position for storage purposes to prevent it sticking shut. This is also a good opportunity to clean and lubricate other rubber seals in the cassette to ensure they remain supple.
Flush tank black bit removal
Here is a simple guide to help you remove the black bits that sometimes collect in the toilet flush tank:
- Pour 100ml of household bleach into 10 litres of water ready for putting into your flush tank, If yours is larger capacity use the same 100ml to 10 litre ratio
- Completely fill the flush tank with the prepared solution
- Leave solution in the tank for 24 hours
- Drain the solution in to a suitable container and dispose of in the home toilet
- Completly fill the tank with fresh water, leave 5 minutes
- Drain the tank
- Repeat steps 5 & 6 until no trace of bleach remains
- Finally drain flush tank completely using the drain tube so no water remains in the tank.
Top Tip
Draining down the flush tank after every trip will prevent the black bits returning.
Electrics
Having the ability to hook up your caravan to a 230V electricity supply throughout winter can have advantages, not least the fact that you can power up any systems, such as the heating, from time to time, as well as keeping items like the battery charged. For many, however, this is not an option and you need to consider alternatives.
Top Tip - Now is a good time to inspect your electrical hook-up cable, especially the ends for degradation, see the Expert Campsite Electricity Guide for more advice
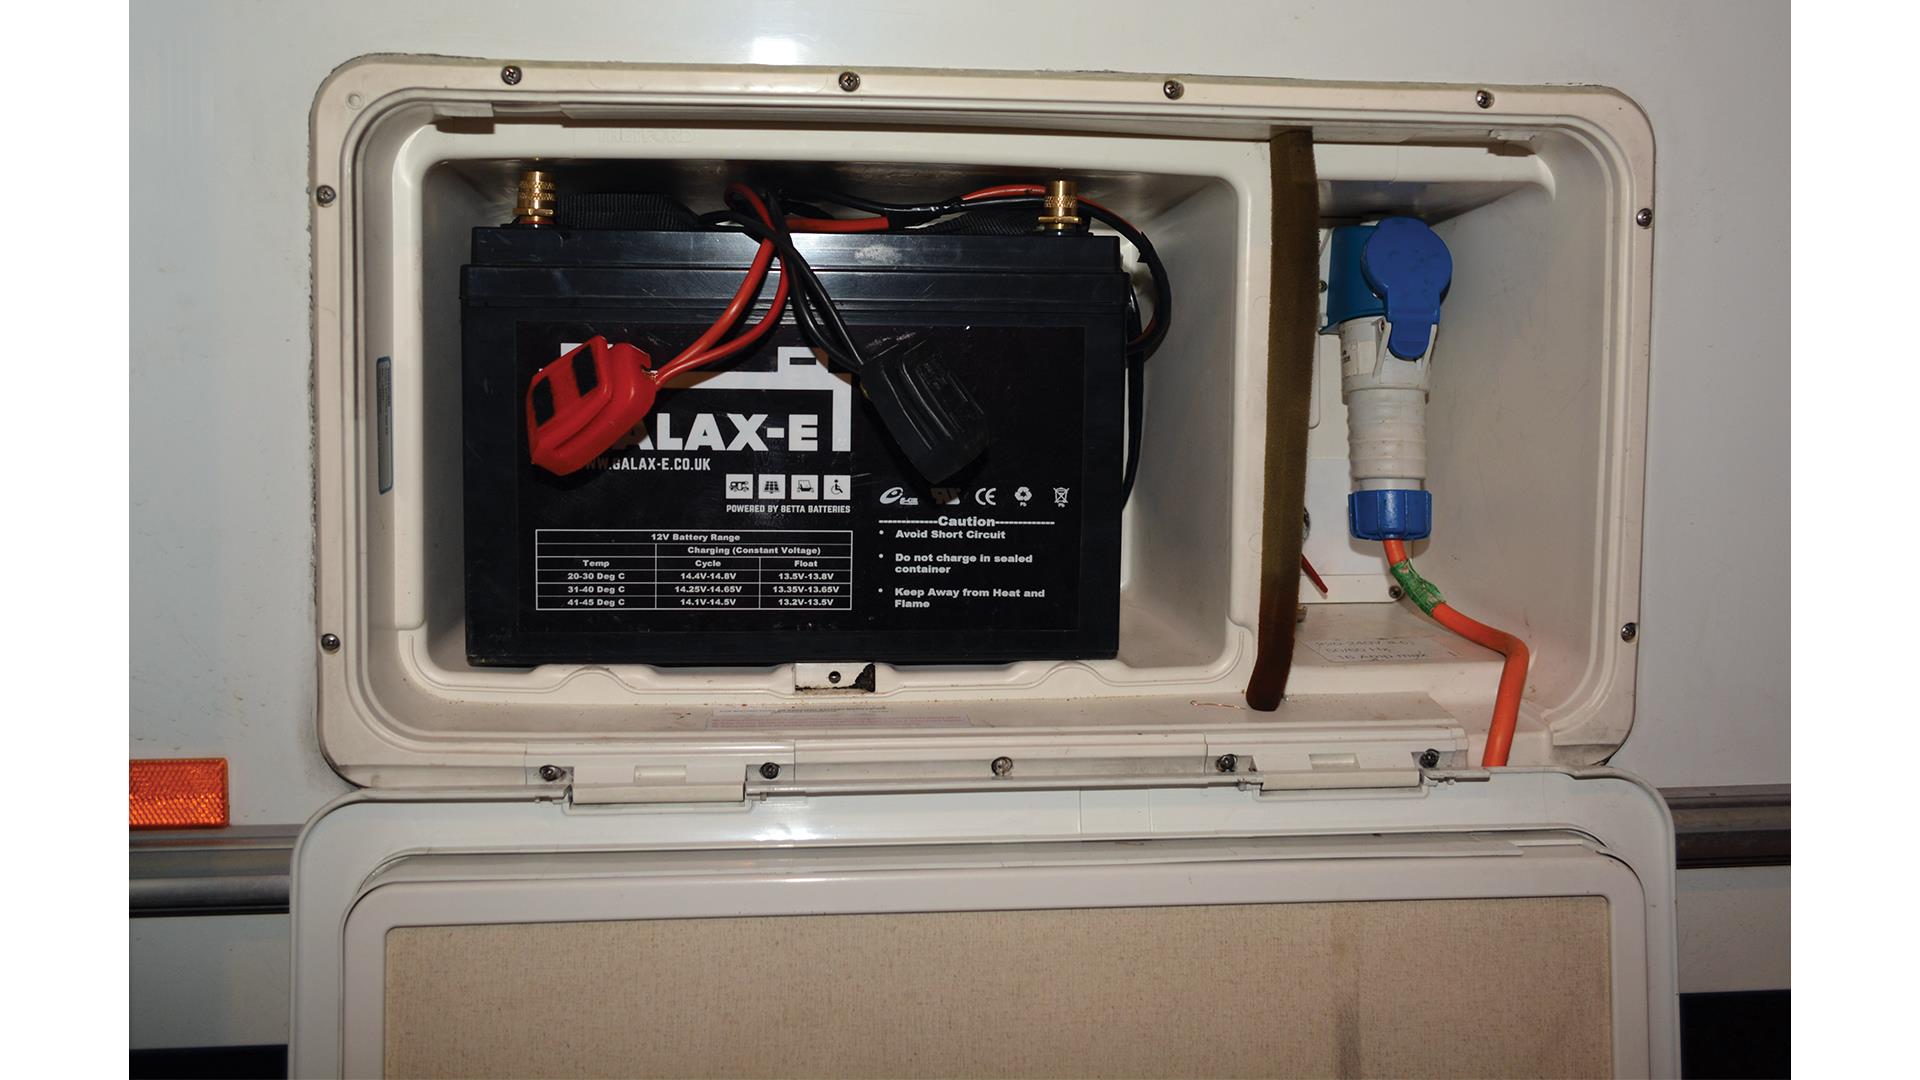
Leisure batteries are often among the casualties of long periods without use. If left in the unit, ensure the battery is kept fully charged and isolated from all 12V equipment by means of the unit's isolation switch or disconnect it. Alternatively, ensure all interior electrical items are in the off position and disconnect any plugs. Don't forget the TV aerial booster in the cupboard, if fitted. Anything left on standby mode is still draining the battery, even the voltmeter on the control panel.
 Check all electrical items are switched off to avoid parasitic drain of the battery
Remember, even when disconnected a battery will still discharge over time and once left in a discharged state its storage capacity can never be fully restored, and will most likely need replacing.
If feasible, disconnect the battery and take it home where you can charge it periodically. A battery should not be left much more than six weeks before re-charging less if the battery needs to remain connected to operate a security system. If your caravan has a tracker or other security system this needs a source of power, which will probably mean leaving your caravan battery in situ and finding a way of charging it on-site or use a 30w or larger solar panel to maintain it. Wherever you keep your battery, clean over the terminals and smear them with petroleum jelly.
Gas systems
Wherever you're storing your caravan, it is essential that the gas valves on top of the cylinders are closed or the regulators (if a clip-on type) are disconnected from the cylinders and caps are fitted over the ends of any open pipework.
 Turn off the gas at the cylinder and isolation valve
If you're putting your unit into storage, check with the storage operator regarding its gas cylinder policies. Some don't allow you to store cylinders with your unit for any length of time. If you can store the cylinders in the dedicated gas locker of your unit so much the better. Alternatively, they should be stored in the open air in a secure place. Storing in a shed or garage is not recommended as in the case of a fire the Emergency Services will be unaware of presence of the cylinders, whereas a fire in or near to a caravan or motorhome immediately suggests the likely presence of gas cylinders.
Wherever they are located, cylinders should be stored upright at least two metres from open drains, openings into cellars (LPG being heavier than air) or buildings. The cylinders should also be kept away from heat and readily-ignitable materials and corrosive, toxic or oxidant materials. When removed from the unit's gas locker, plastic caps or plugs should be fitted to the gas cylinder's outlet. When handling, connecting and disconnecting gas cylinders ensure engines and electrical equipment are switched off.
Covering up
To help preserve the exterior of your unit and ease the chore of cleaning it before your first spring outing you may wish to consider either a breathable cover or the use of a protective coating, such as Fenwicks Overwintering Fluid.
When choosing a cover it's important for it to be breathable, soft enough not to damage the caravan surface and tough enough for longevity. The alternative of a waxy protective coating has the advantage of low cost and if you leave it on all winter it is relatively easy to wash off in spring because of the natural degradation of the coating. All caravan covers have a limited life, but some inferior products can last little more than one season. The main problem is ultra-violet light degradation. Consider the cover as sacrificial, it's better the cover degrades than your GRP panels discolouring.
 Quality covers are a lot easier to put on and off
If you use your cover throughout the year and so expose it to summer sun, consider a lighter colour to help reduce heat build-up. Also expect its life expectancy to reduce. Generally, you get what you pay for here, from cheap imported products right up to premium, custom-made items not only are the custom made a much better fit the quality and workmanship is superior. Do ensure it's the right size for your van with the doorway in the right location and provision for the protruding external fittings such as a roof aerial and gas flue. Another life-shortening aspect of caravan construction to covers is the sharp ends of aluminium awning rails and roof joint strips. The cover needs to be protected at such points with robust material to prevent premature wear. Before fitting a cover it is essential that the surface of the unit is clean and dry, otherwise even with the softest of covers a surface layer of dirt and grit will damage your paintwork as the cover moves against the side of the unit.
Take particular care to ensure the windows are clean as the soft acrylic material scratches easily.
Ignore any advice to protect the windows with cling film before fitting the cover as this is not wise and may cause cracking to the windows.
Top tips
- Check your caravan handbook for any specific advice it may offer on winter preparation. Also, it's always worth checking with the supplier of any additional equipment you may have had fitted for advice on over-wintering.
- Even if you're leaving your van in storage away from home, return every now and then for a check that all's well. It's also the chance to open windows and rooflights to allow some fresh air to circulate. Likewise, an occasional blast of warm air from the heating system can also work wonders, but don't forget if using butane gas for heating it won't work as the temperature approaches zero.
- Winter is a good time to have your caravan serviced by an industry recognised service centre. Head online and visit approvedworkshops.co.uk for more information and details of an Approved Workshop near you.

- Caravan service centres are often less busy at this time of the year although don't forget the timing of your service must also fit with the conditions of any caravan warranty.
Further content from the Club:
Solar power and solar panels for camping and caravanning
A guide to caravan and motorhome servicing
We also have a selection of how to videos here including the following that you may find useful while preparing for storage:
How to keep your caravan in tip top condition this winter
