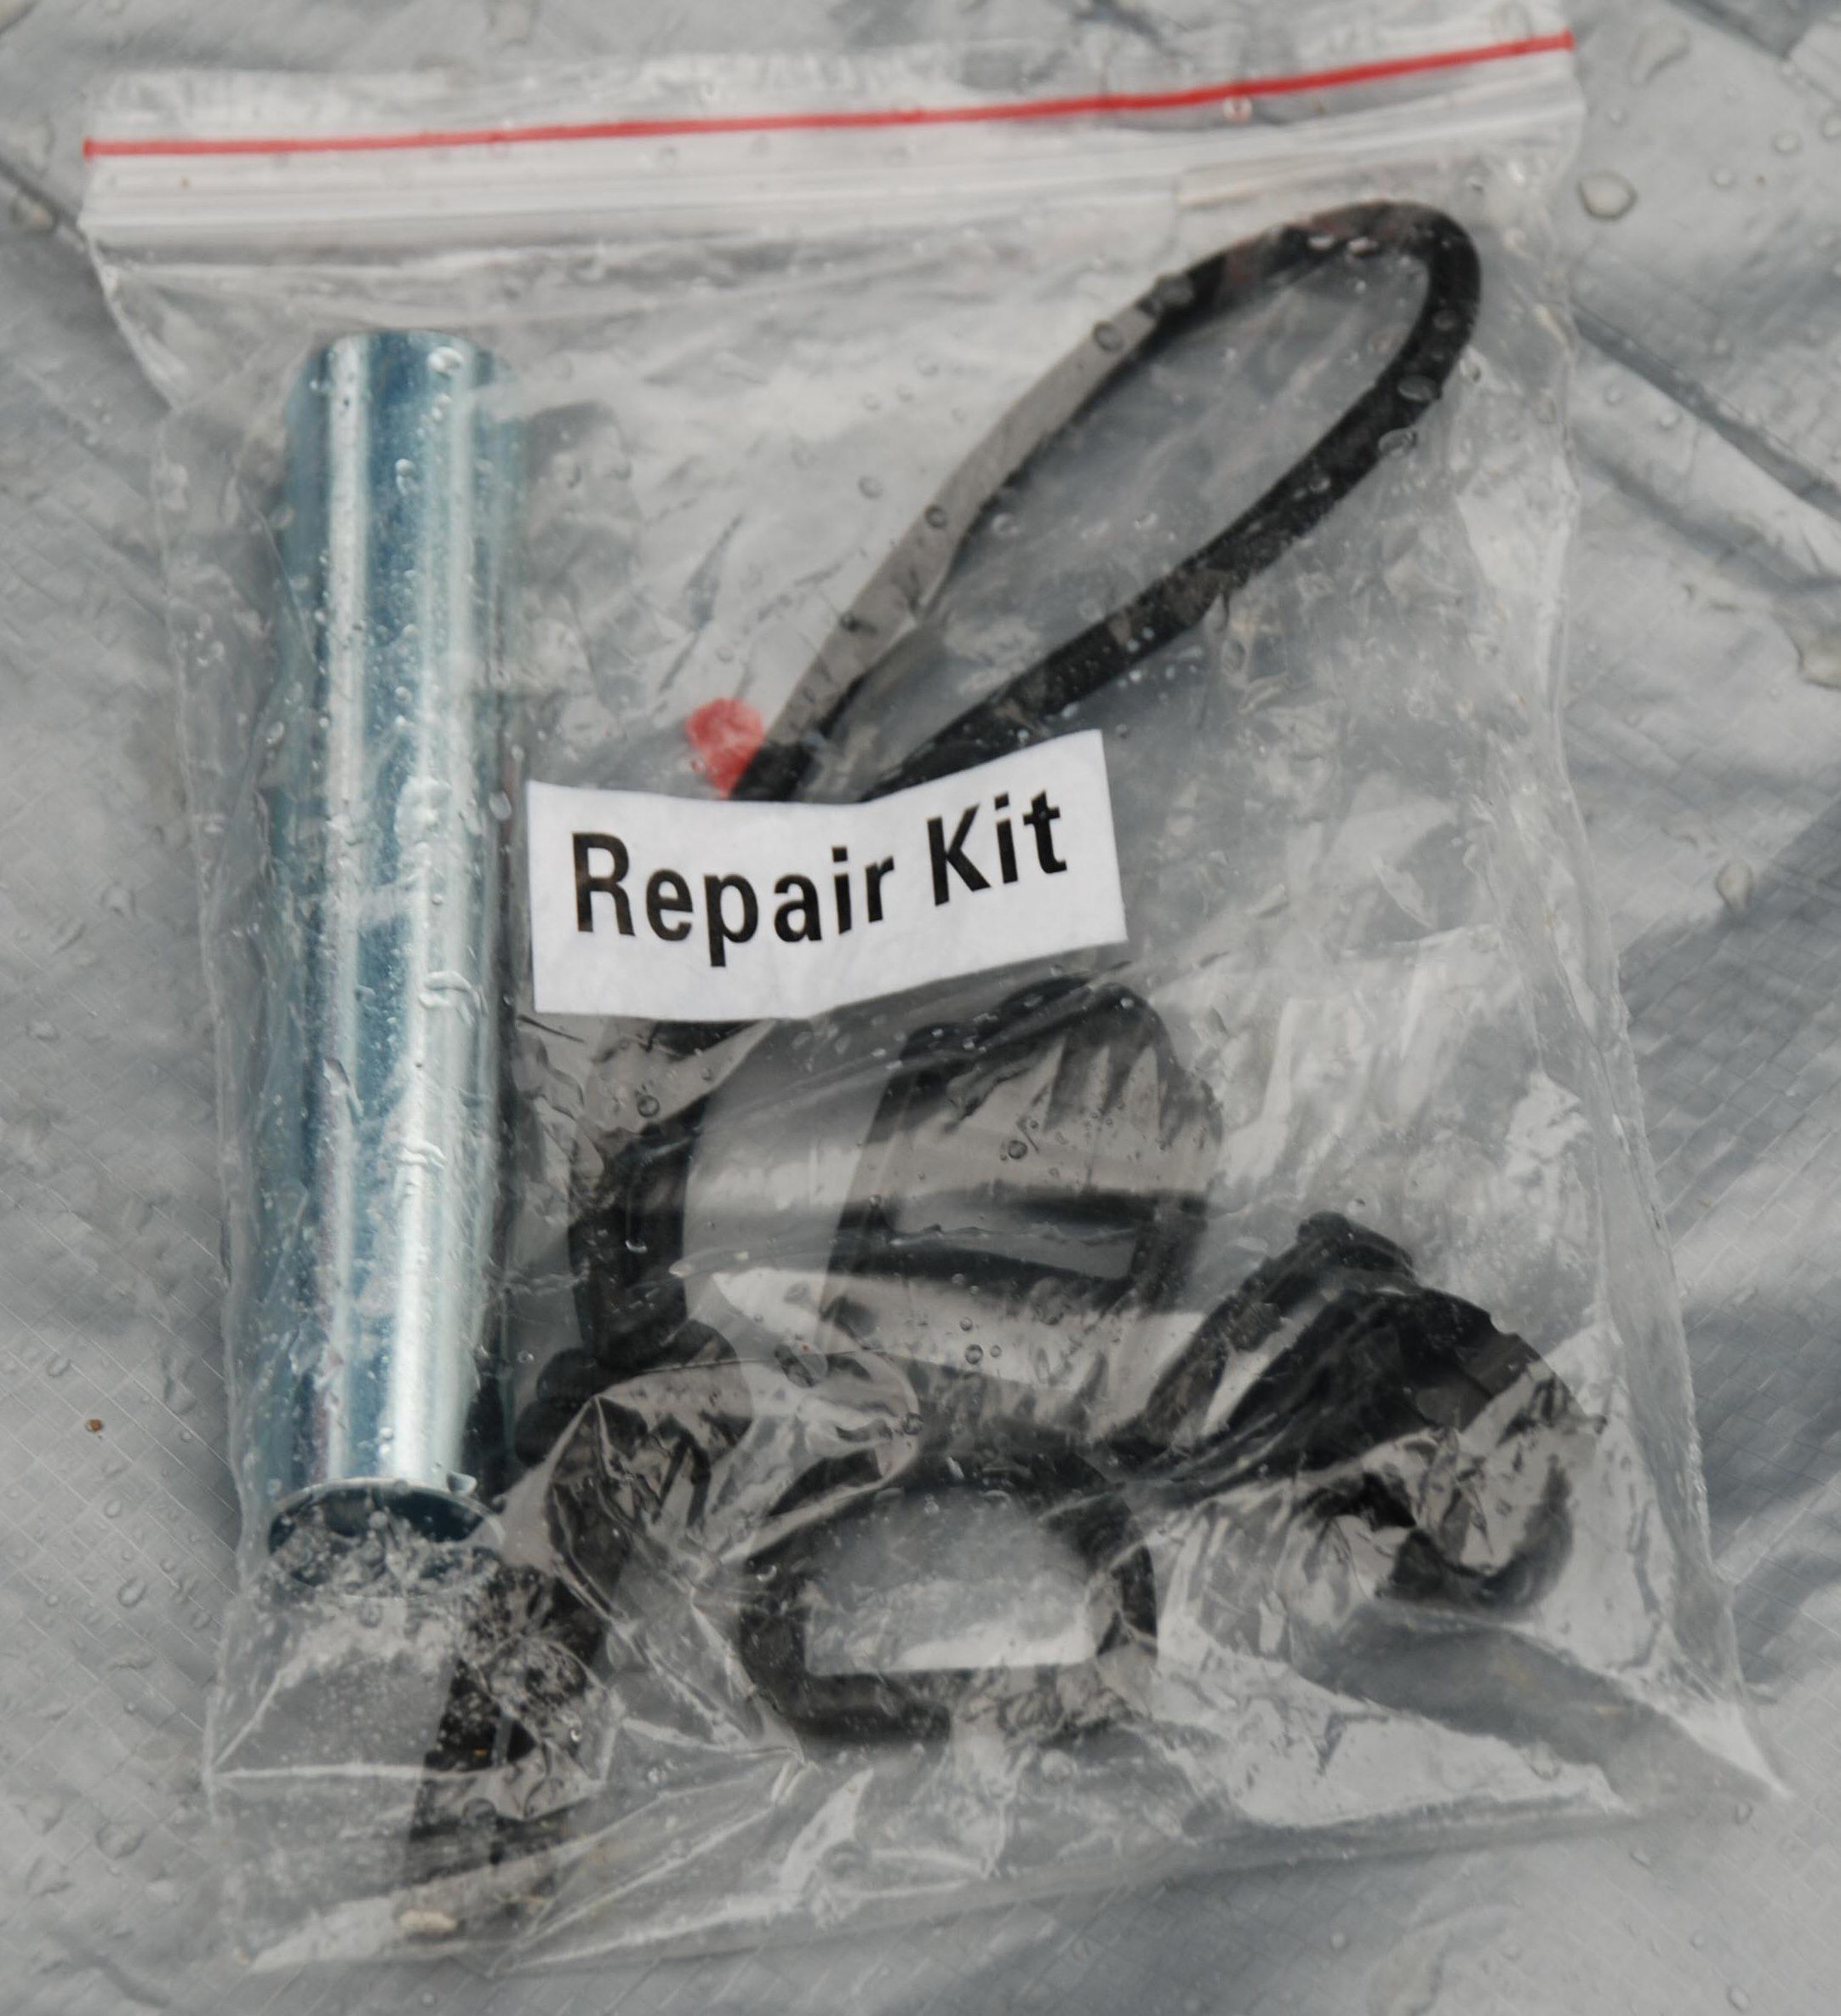
Repair kits

Some awnings come with a small repair kit that includes a short section of pole, a spare guy line, patches of fabric and adhesive. If yours doesn't have this, it's worth putting together a similar pack. You may like to add some plastic cable ties and a roll of gaffer tape along with a few extra pegs. Add a decent mallet and peg puller and a kit like this should allow you to fix most problems while you're out on the campsite. If you need to solve a problem temporarily in the field, don't forget to make a more permanent repair when you get home - the chances are you'll forget about it if you wait until your next trip.
Cleaning and reproofing your awnings
It's normally easiest to clean and reproof your awning when it's pitched. This way you can work methodically around the whole unit and be sure you've cleaned and treated it all. Please don't put your pride and joy into the washing machine - neither the machine nor the awning will fare well.
- Brush off any loose dirt and if necessary scrape it off gently with a flat-bladed knife or a piece of plastic - old store or credit cards can be good for this
- Use a cleaning liquid to clean the fabric, taking care to match the type of fluid to your awning fabric and follow the instructions carefully
- If necessary use a highly diluted bleach to tackle mould and mildew stains. Sterilising liquid, such as that used for baby bottles, is good for this. It may not remove the black staining (bleach in concentrations strong enough to do this could permanently damage the fabric) but it should kill the organisms that create the marks and prevent the musty smell they produce
- Rinse thoroughly with clean water to remove all traces of the cleaning fluid
- Allow to dry naturally
- Waterproof the fabric using a reproofing liquid, again appropriate to your awning, following the instructions carefully
- Allow to dry naturally